

Free Shipping
40 €
Lip gloss
60 €
Mascara
75 €
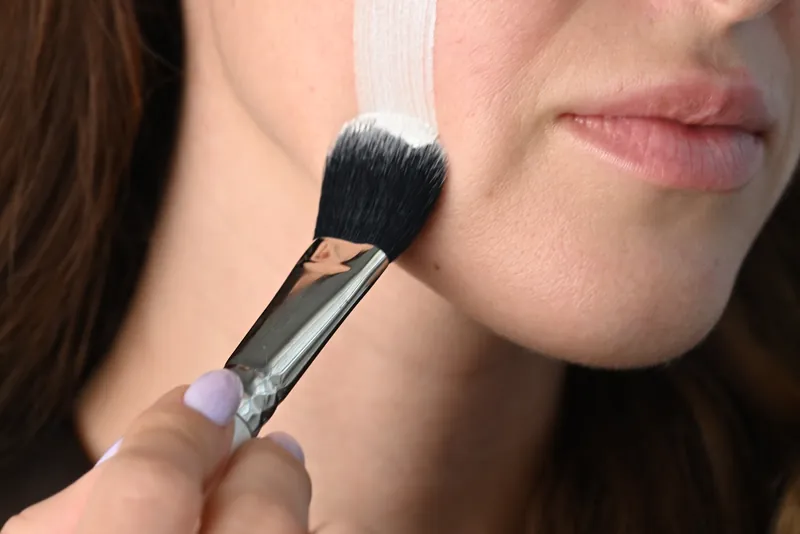
Makeup brushes are often bought in sets of 10–15, yet only two or three get used every day. In this guide you will find out which brushes you actually need, how synthetic and natural bristles differ, how to apply foundation with a brush and how to clean your brushes so they last.
How many makeup brushes you need depends on what you do. If you only apply foundation and concealer, start with one good foundation brush – clean fingers or a sponge can take care of smaller areas. If you do eye makeup, powder and wear blush, it is worth having 4–6 different brushes.
The table shows the most common brushes and when you will really need each one.
| Brush | What it is for | Do you need it straight away? |
|---|---|---|
| Foundation brush (domed or flat) | Liquid and cream foundation, BB or CC cream | Not necessarily – if you like applying foundation with your fingers or use a cushion, you may not need one |
| Powder or blush brush (large, fluffy) | Powder, powder blush | If you use powder |
| Small concealer brush | Under the eyes, red areas around the nose | A fingertip works just as well |
| Eyeshadow brushes: flat and blending | The flat one lays down colour, the fluffy one blends the edges | Only if you wear eyeshadow |
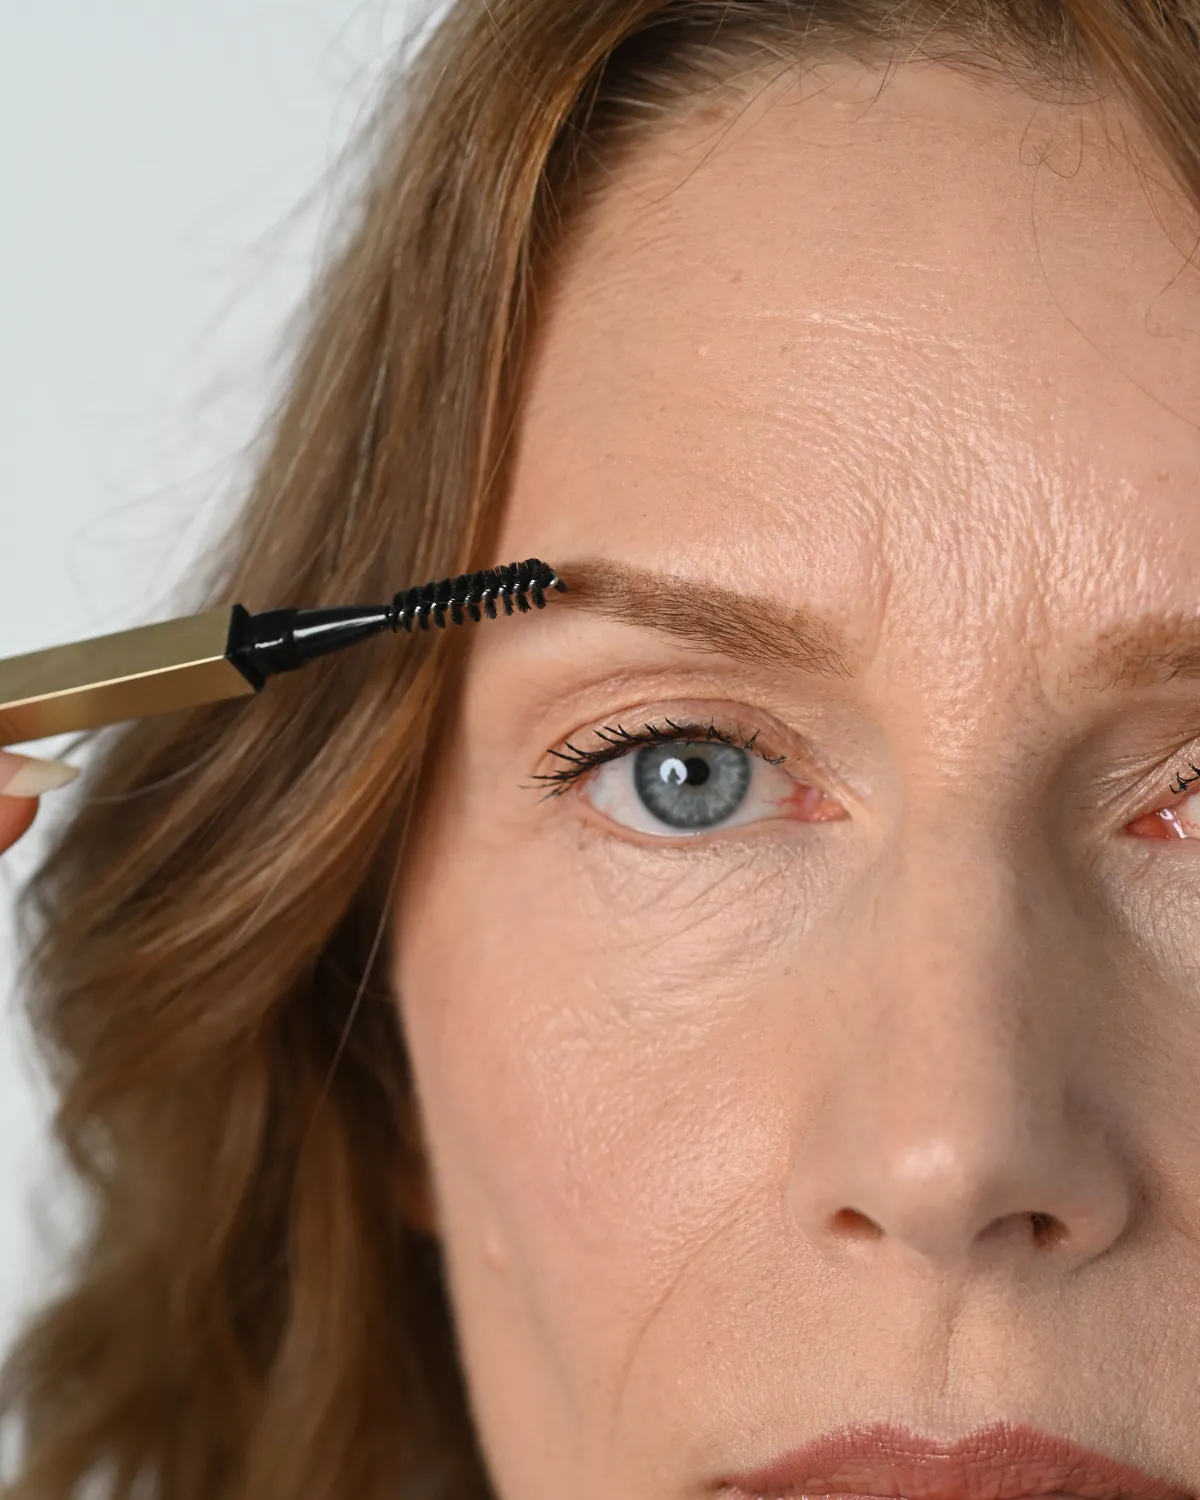
| Brow spoolie (spiral brush) | Brushing brow hairs into place, softening colour | Yes, but it often comes on the pencil |
| Lip brush | A precise outline, lipstick | Rarely – a lip liner is usually enough |
For beginners, a dense, domed foundation brush is a good starting point for smooth blending, especially with liquid textures. Use small circular or gentle stippling motions, adjusting the technique to the foundation and your skin. With a flat brush you apply foundation in strokes, almost like paint: it is quick, but takes more skill to avoid lines.
Before buying new brushes, check what you already have. Many products come with their own tool, and LUMIMI is no exception:
So for everyday makeup, one good foundation brush may be all you need – and if you use a cushion or apply foundation with your fingers, you might not need even that. If you use powder, add a large fluffy powder brush.
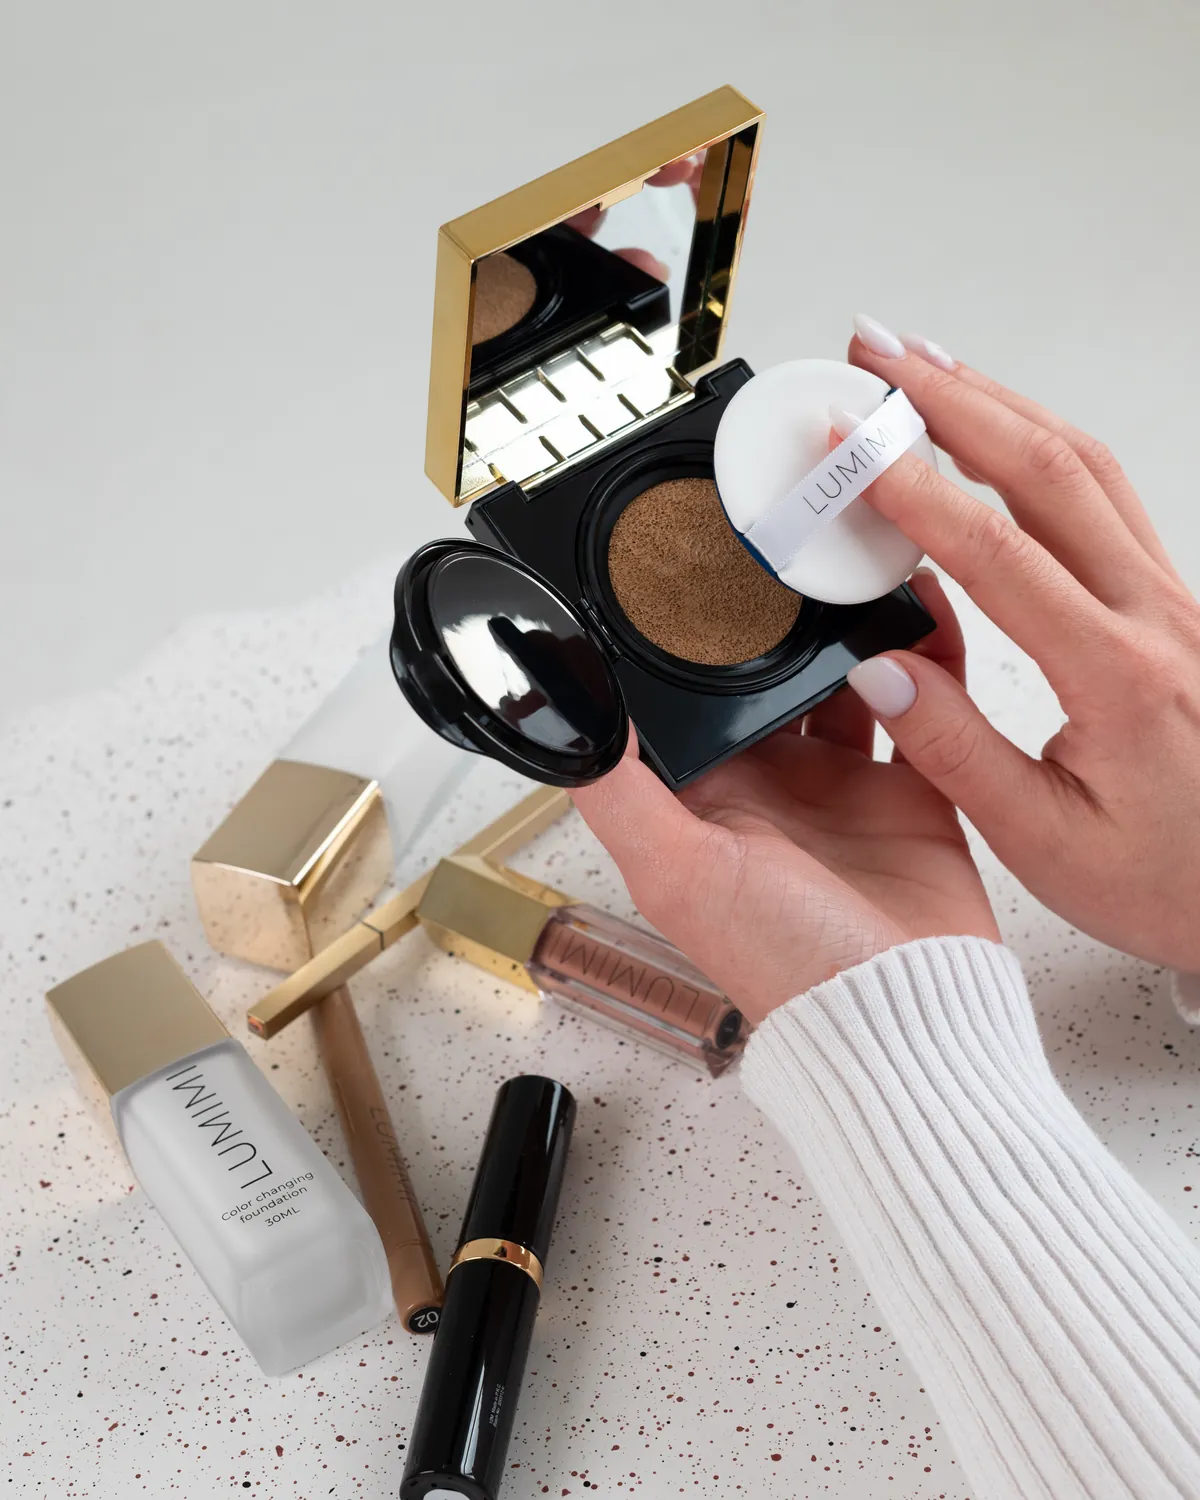
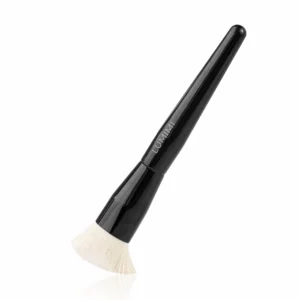
LUMIMI
Premium Makeup Brush
A domed head with dense, soft synthetic bristles – for liquid and cream foundation, BB or CC cream and cream blush.
See the Premium Makeup BrushIf your makeup is simple and everyday, two or three good-quality brushes are better than a big makeup brush set. Sets often include shapes you will never use, and the quality can vary a lot from one brush to the next.
A makeup brush set is worth considering if you enjoy eye looks with several eyeshadow shades, if you contour, or if you are still working out which shapes suit you best. Either way, judge every brush by the same criteria.
Synthetic bristles work with liquid and cream products as well as most powders – powder, blush, eyeshadow – so they are usually all a beginner needs. Natural bristles can be handy for loose textures, but they are not essential.
Synthetic bristles come in different densities and shapes, making them suitable for many liquid and powder products. Well-designed synthetic brushes often absorb less liquid makeup than many natural-hair brushes, so more of the foundation ends up on your skin rather than in the brush. They are easier to wash, dry faster and keep their shape for longer.
Natural bristles are animal hair. Their surface is uneven, so they pick up loose powder well and diffuse it softly. However, they soak up liquid foundation, lose their shape faster when washed and need more care.
Good synthetic bristles are very soft and work even for powder. If you want one type of brush that is easy to look after, choose synthetic.
A dense brush helps you build more coverage, a damp makeup sponge lifts away the excess, and fingers are handy for quickly applying a light layer. There is no single best tool: the result depends on both the foundation and your technique, so choose according to the texture, your skin and how much time you have in the morning.
| Method | Finish | Coverage | Speed | Best for |
|---|---|---|---|---|
| Brush | Even, with well-blended edges | Light to fuller, easy to build | Quick | Liquid and cream foundation when you want an even tone |
| Sponge | Natural, absorbs excess | Light to medium | Slowest, as you pat it on | Cushion, blending concealer, drier or more mature skin |
| Fingers | Natural, thin layer | Light | Fastest | Light textures, when you are in a hurry, travelling |
The warmth of your fingers helps a light texture melt into the skin, but it is harder to cover the hairline and the area around the nose evenly. A sponge is perfect for patting – which is exactly how a cushion is applied; we cover this in more detail in our article on cushion foundation.
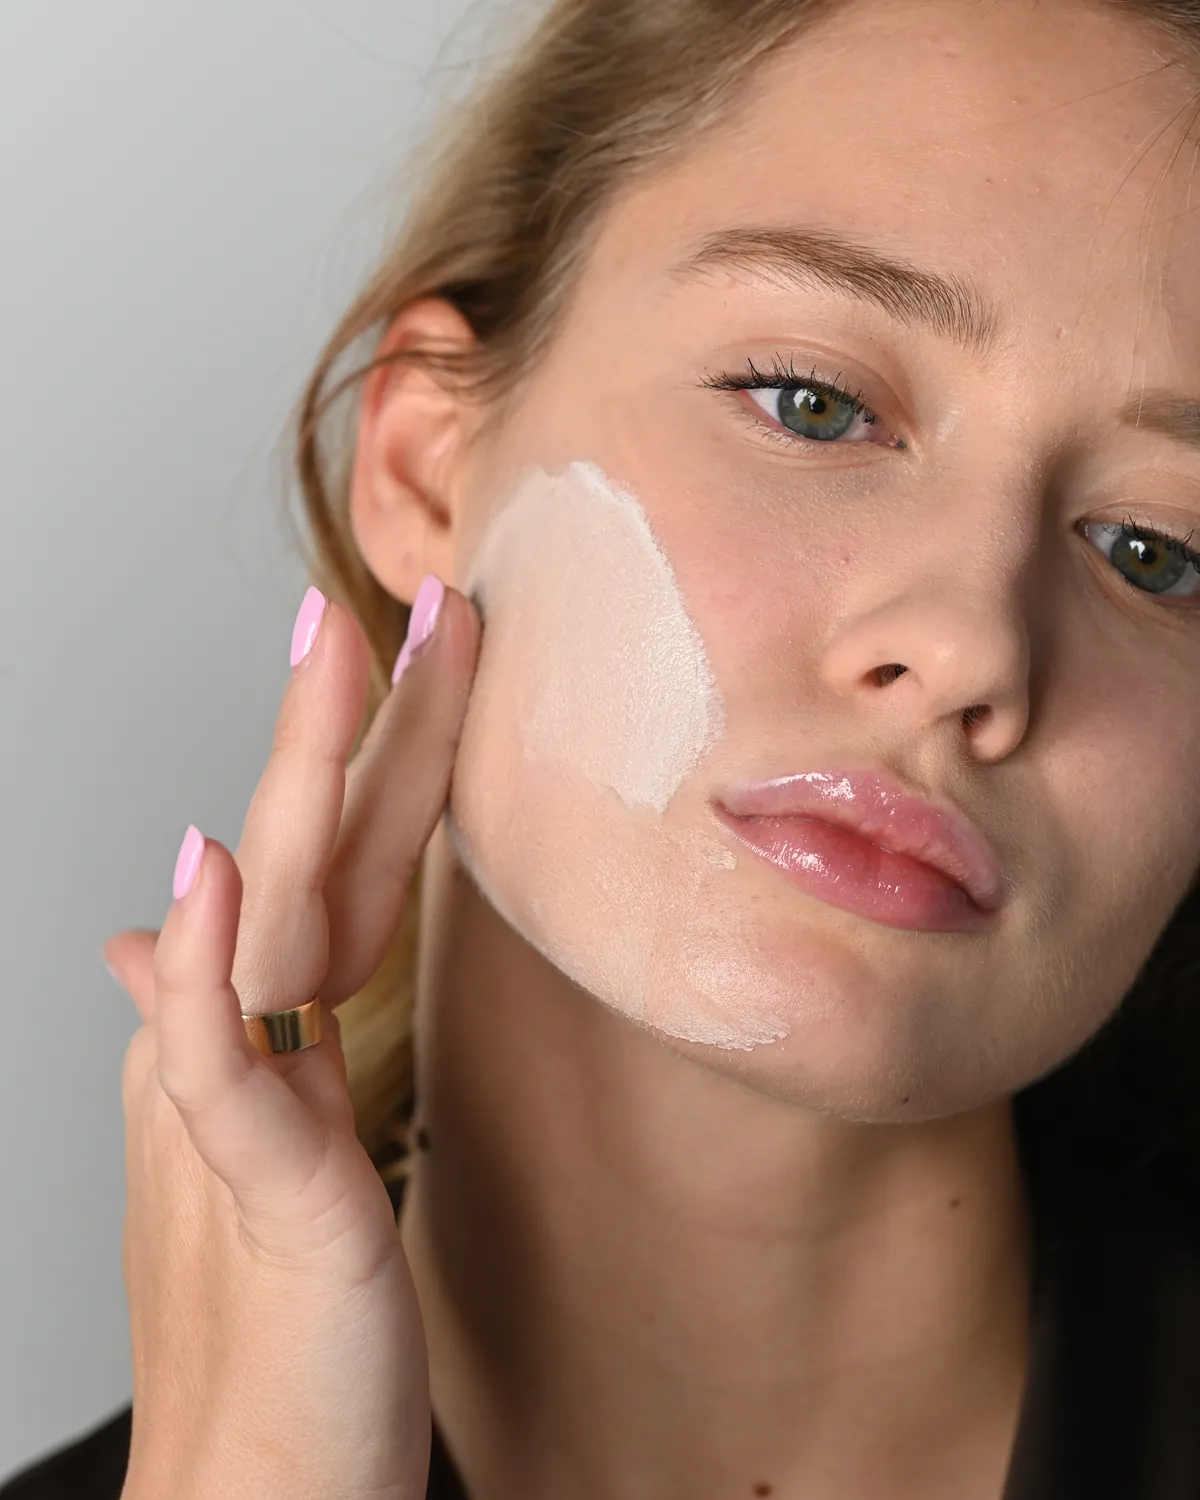
A colour-changing foundation can be applied in all three ways – with a brush, a sponge or your fingers. To find the right foundation for your skin, read our guide on how to choose foundation for your skin type.
Apply foundation with a brush from the centre of the face outwards, using light circular movements and thin layers. It takes 1–2 minutes, and the aim is an even tone with no visible edges.
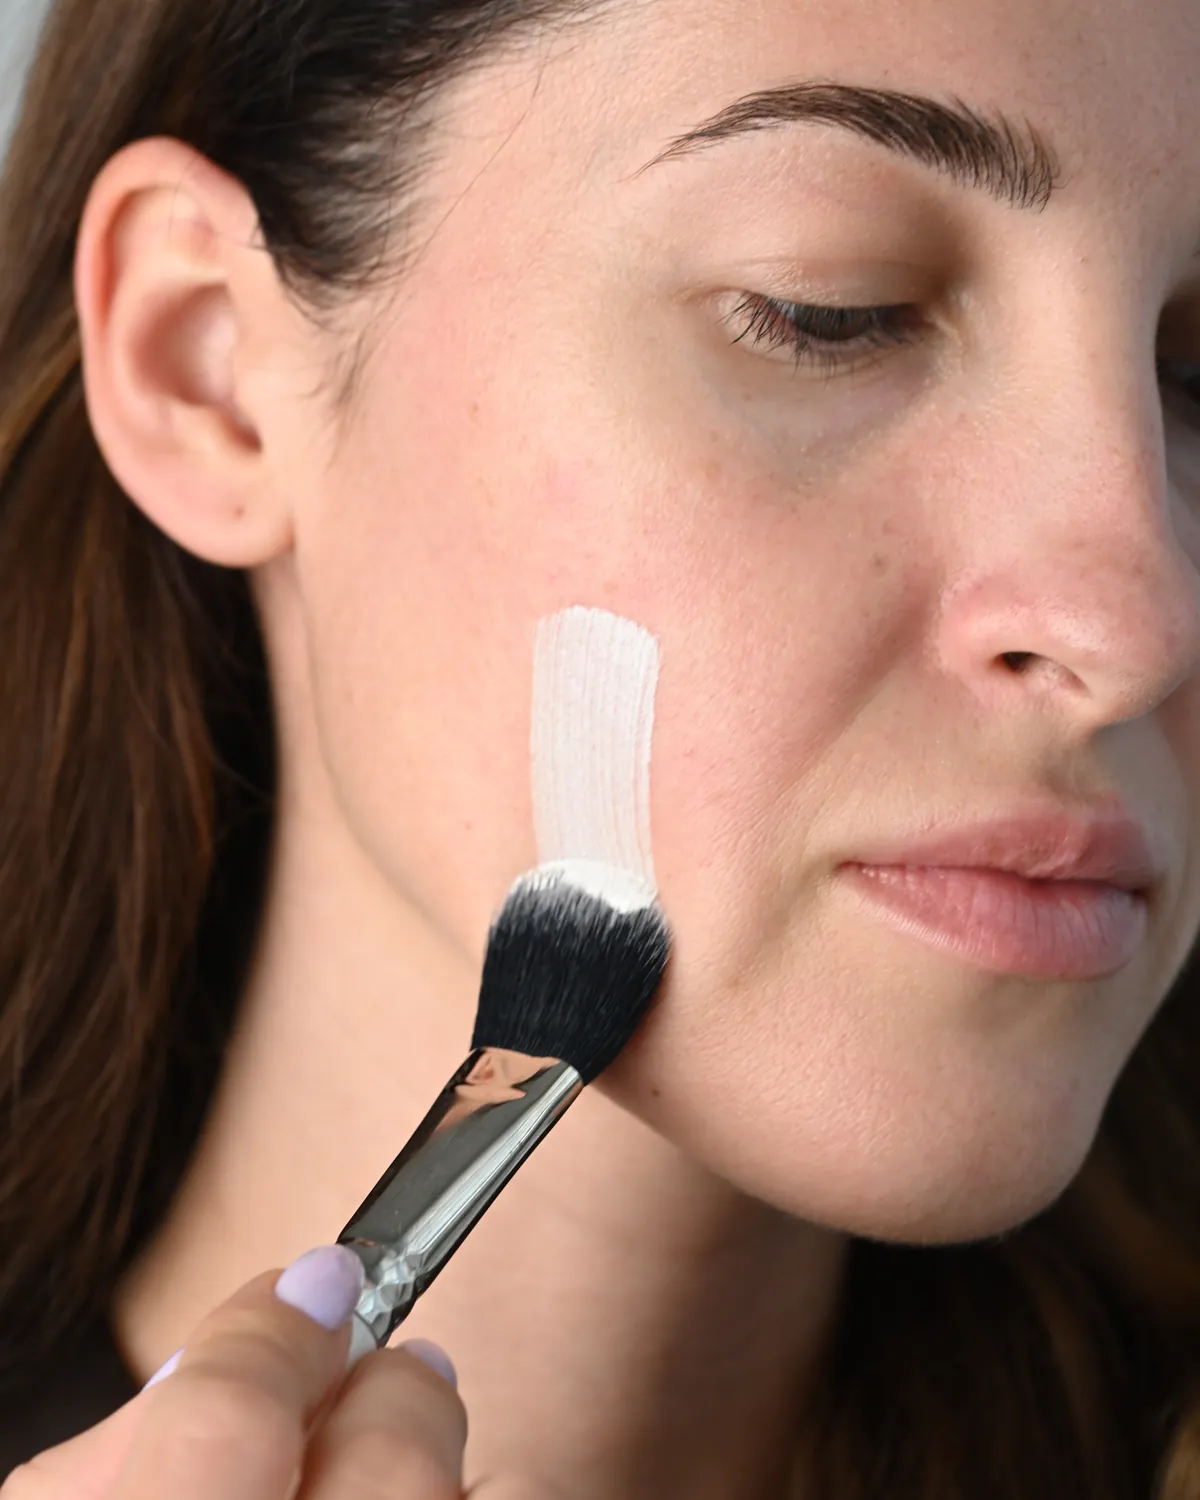
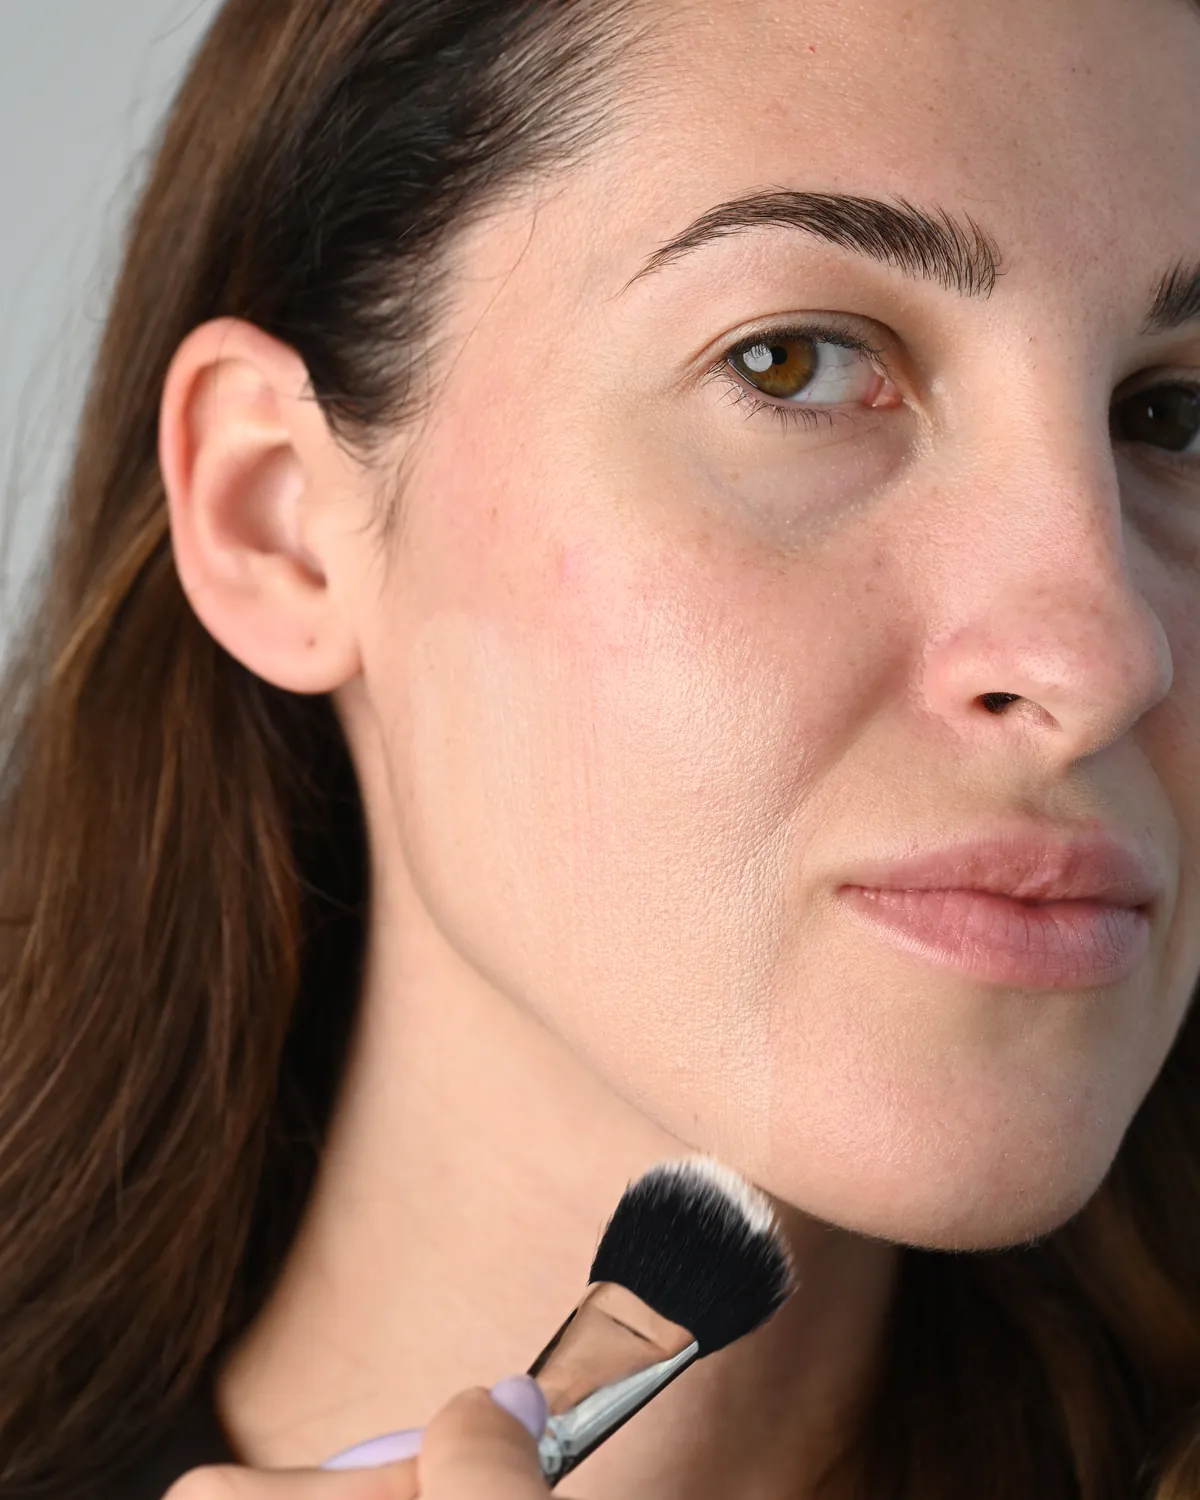
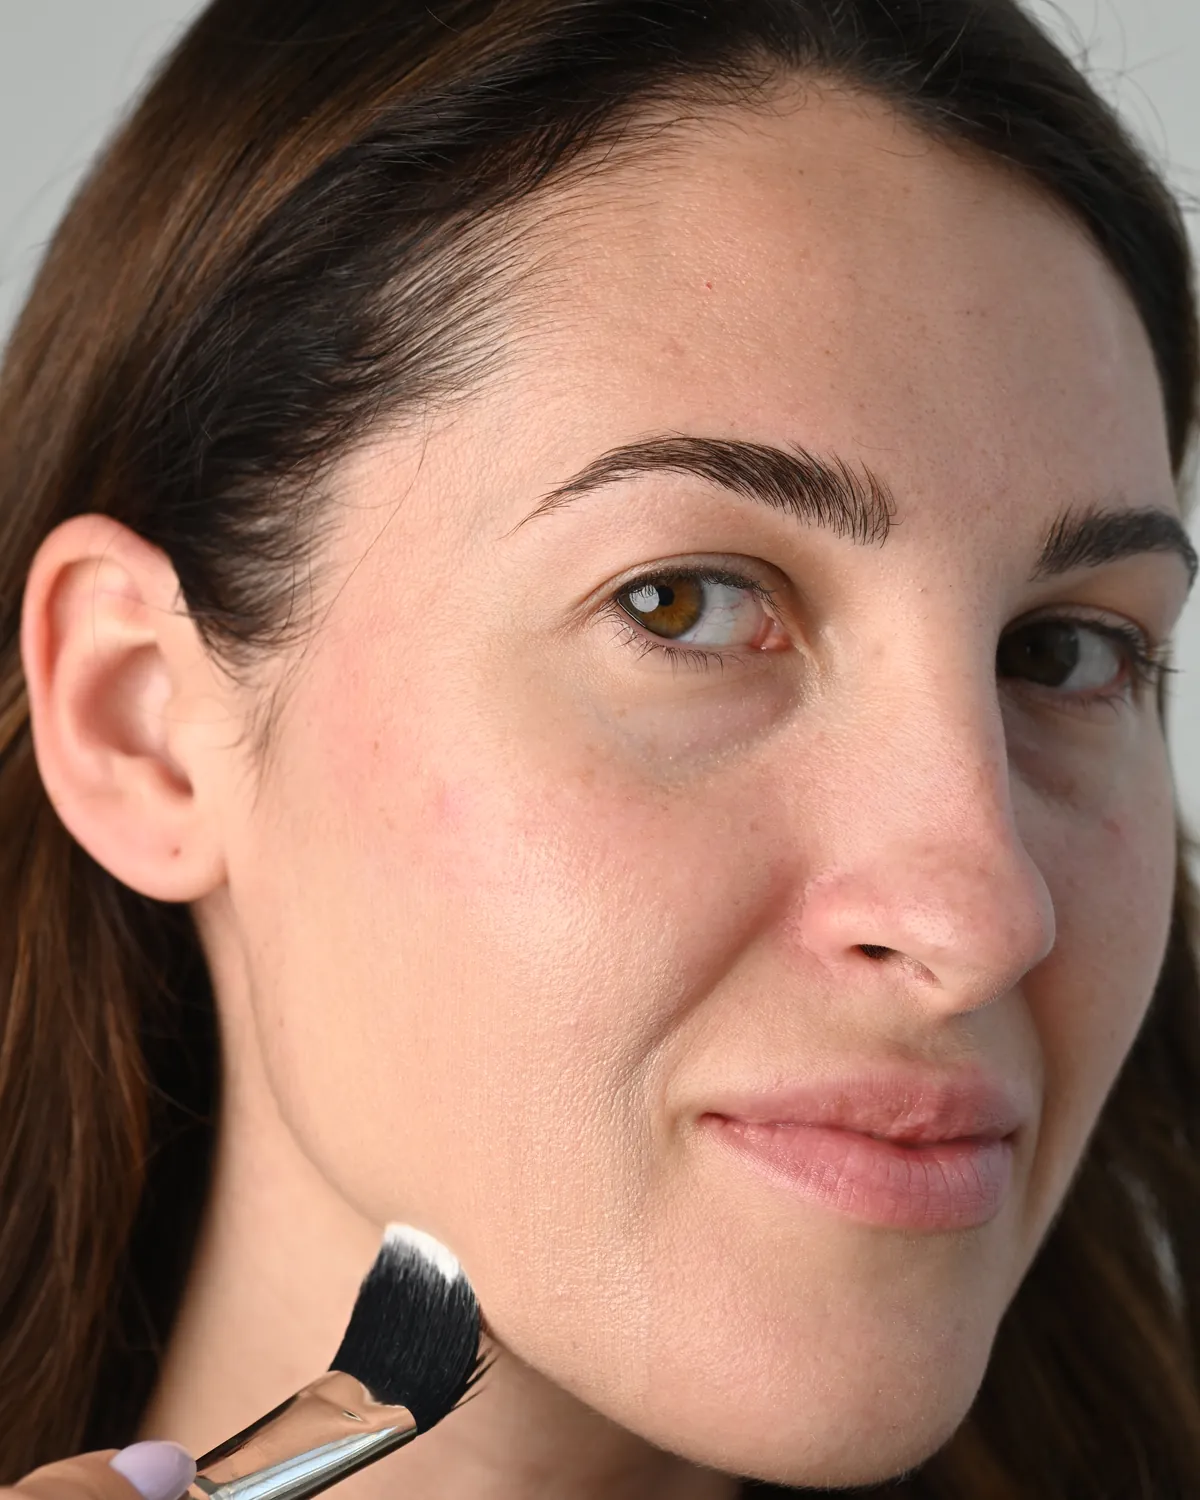
If your brush leaves streaks, there is usually too much product in one spot or the skin is too dry. Use less and blend in circular movements rather than straight strokes.
LUMIMI
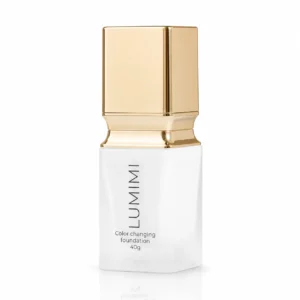
Colour-changing foundation NEW EDITION
White in the bottle, it releases its pigment as you blend and is made for fair and medium skin tones. Easy to apply with a brush, sponge or fingers.
Discover the colour-changing foundationClean your makeup brushes with lukewarm water and mild soap or a gentle cleanser: wash brushes used with liquids frequently, especially if you wear makeup daily or are prone to breakouts, and brushes for powder products less often. Built-up product can make blending harder, leave an uneven finish and irritate the skin.
Between washes, wipe the brush on a clean cloth after each use. This removes excess product and keeps the brush clean for longer.
Dampen your makeup sponge, work in some mild soap and squeeze it under lukewarm water until the water runs clear. Press it dry in a towel and leave it to air-dry, not in a closed box. Wash the cushion puff just as gently: soap, lukewarm water, squeeze out, don’t wring. It is handy to have a spare, so you can use one while the other dries.
Wash only the puff you apply with – not the cushion pad holding the foundation inside the compact. Keep the compact tightly closed, and when the product runs out, insert the spare refill. If your skin is irritated or you have a rash, wash brushes and sponges after every use and ask your doctor about your skin.
A good synthetic brush can last for years if you wash it regularly and dry it properly. Replace it when the bristles keep shedding, splay out and no longer return to shape, the head wobbles in the ferrule or an unpleasant smell remains after washing.
Makeup sponges have a shorter life – usually a few months. Replace a sponge or cushion puff when it cracks, hardens, starts to crumble or no longer washes clean.
Most problems with makeup brushes come not from the brush itself but from the amount of product, the movements and the care.
To start with, a foundation brush, a large powder or blush brush and a brow spoolie are enough. If you wear eye makeup, add a fluffy blending brush. Concealer can be blended with a fingertip, and for lips a liner is usually enough.
Wash brushes you use for liquid or cream products about once a week if you use them daily. Brushes for powder products, every 2 weeks. A makeup sponge is best washed after every use and left to dry completely.
A brush is quicker and gives a more even, fuller coverage; a sponge gives a more natural, thinner layer. A brush is handy for liquid foundation, and a cushion comes with its own puff. You can also combine them: blend foundation with a brush and pat the edges with a sponge.
Yes, a gentle shampoo works, especially for natural bristles. For synthetic ones, mild soap or a gentle face cleanser is enough. Don’t use hot water and don’t submerge the whole brush – water shouldn’t get into the ferrule.
Small brushes usually dry in a few hours, while dense foundation brushes need overnight. That is why it is easiest to wash them in the evening. The brush should be completely dry before you use it.
It is if you do varied eye makeup or are still finding the shapes that suit you. If your makeup is simple – foundation, concealer, brows, lips – one good foundation brush is more useful, as you often already have the other tools with your products.