

Free Shipping
40 €
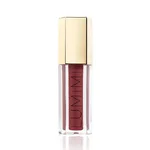
Lip gloss
60 €
Mascara
75 €
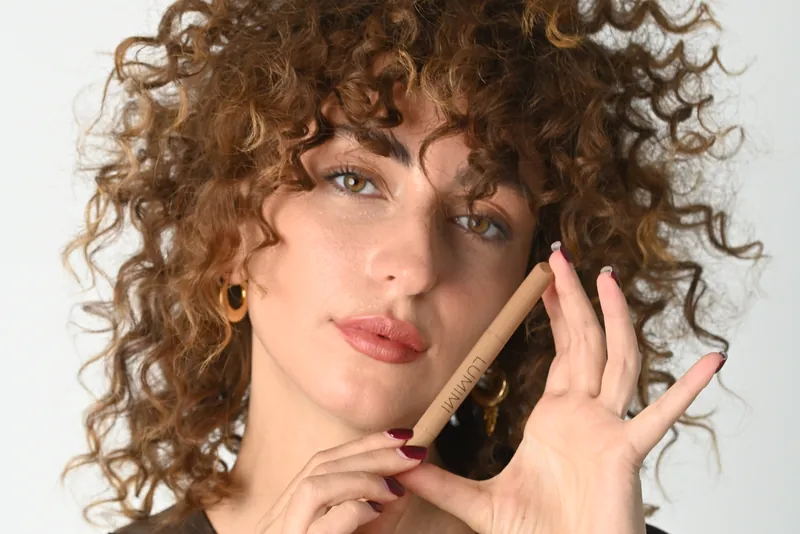
A lip liner can help define your lip shape and create a softer, more polished edge to lipstick or gloss. It can also help reduce feathering, depending on the formula you wear over it. Here you will learn how to choose the right shade, how to line your lips step by step and how to pair liner with gloss or lipstick.
Lip liner gives your lips a clearer shape and a neat outline, and it can help define the lip line and reduce feathering, depending on the formula worn over it. A pencil line is more precise than a swipe of lipstick or gloss, so it is easier to mark the outline with it. If you wear a creamy lipstick or gloss on top, a well-blended line can help you keep the edge of your lip colour looking neat. How well it stays in place also depends on the texture of the products themselves: the more fluid and slippery the formula, the more easily it travels past the edge.
Over the years the lip line often becomes less defined, and fine lines appear around the mouth – gloss and creamy lipsticks love to “bleed” into them. That is when liner earns its place twice over: it helps the shape of your lips look clearer and makes it less likely that colour will seep into those lines.
Liner also works on its own. Fill in your lips with it and you get even, natural-looking colour without any other lip product – you will find out how in the section on making colour last longer.
Choose your lip liner shade based on the result you want: for a natural look, pick one close to your own lip colour; with lipstick, go for the same tone or one shade deeper. The second thing to consider is undertone – warm or cool.
Look at your lips in daylight and choose a liner that is just slightly richer than their natural colour. A shade close to your natural lip colour creates a subtle outline that is easy to pair with gloss. It works with gloss and with most brownish or pink lipsticks, which makes it the most versatile first lip liner to own.
For natural everyday makeup, the easiest option is a liner close to your lipstick shade or one tone deeper. A deeper outline blended inwards gives the lips a little depth. A liner that is noticeably darker or lighter than your lipstick can be a deliberate style choice – just check it in daylight before you head out.
Warm shades have more yellow and brown in them – think cinnamon, terracotta and caramel. Cool shades lean grey or bluish – muted pinks and berry tones. The colour of jewellery you prefer can give you a hint, but it is not a reliable undertone test. If in doubt, compare two liner shades next to your face in daylight and pick the one that looks most harmonious with your natural lip colour.
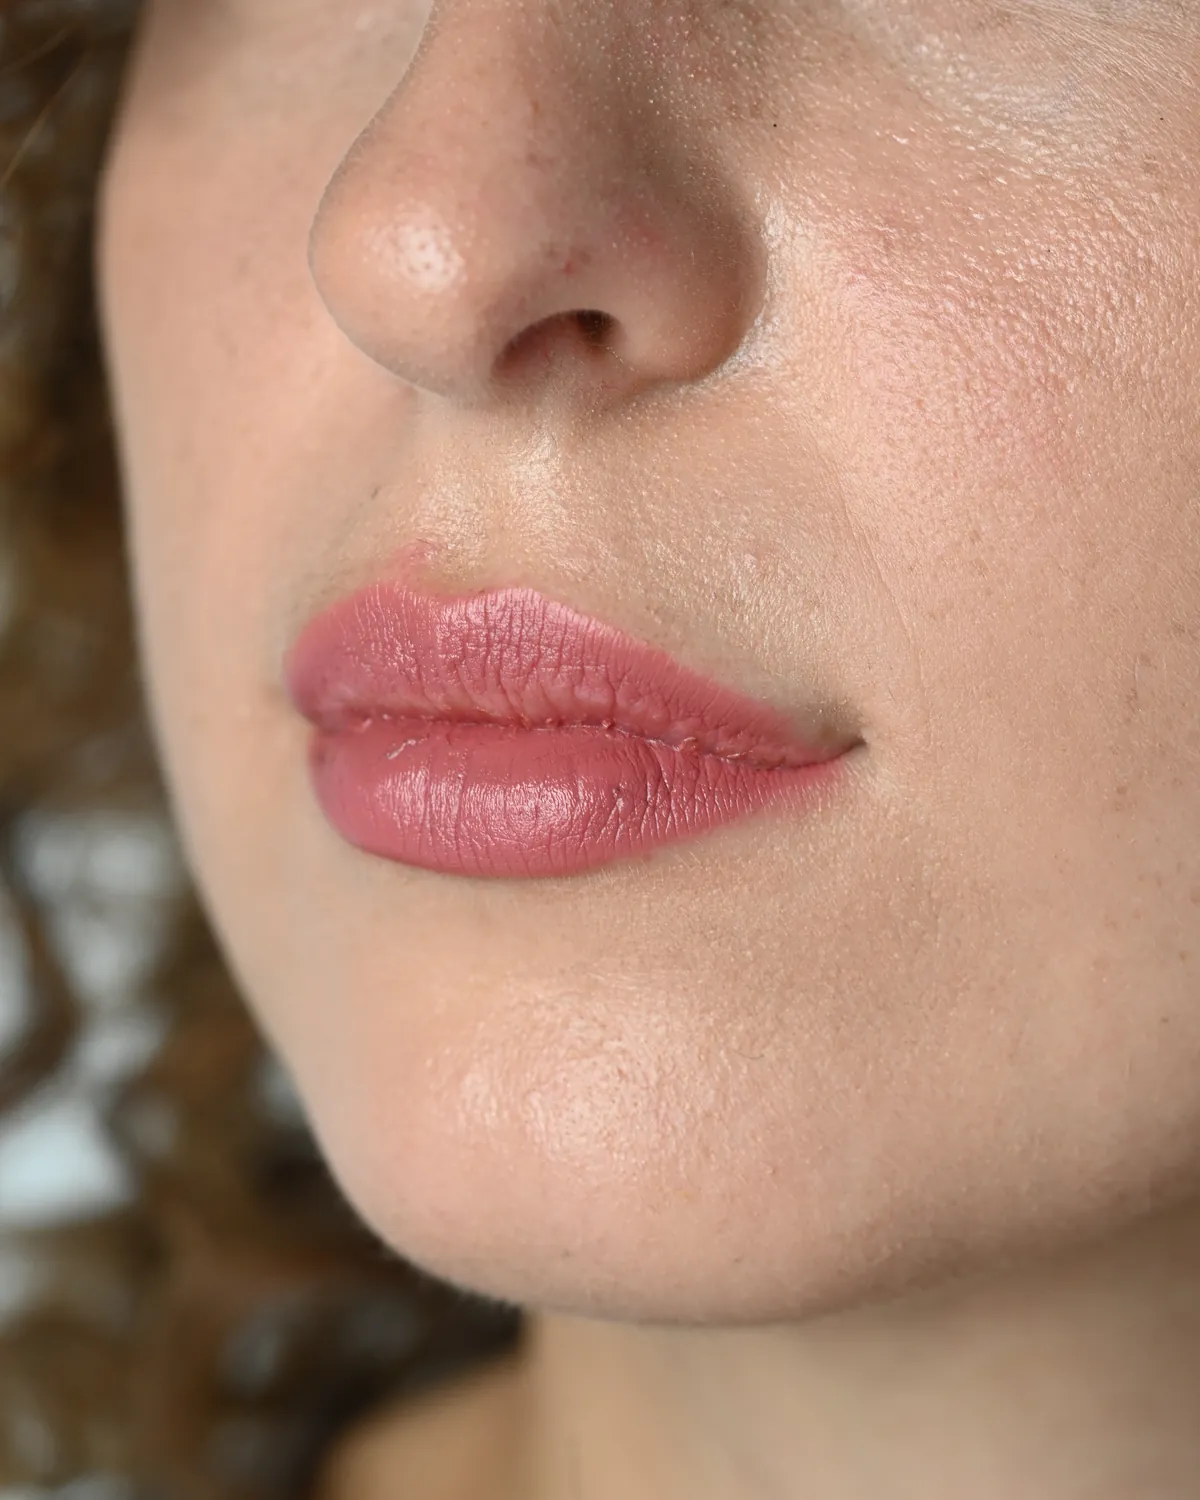
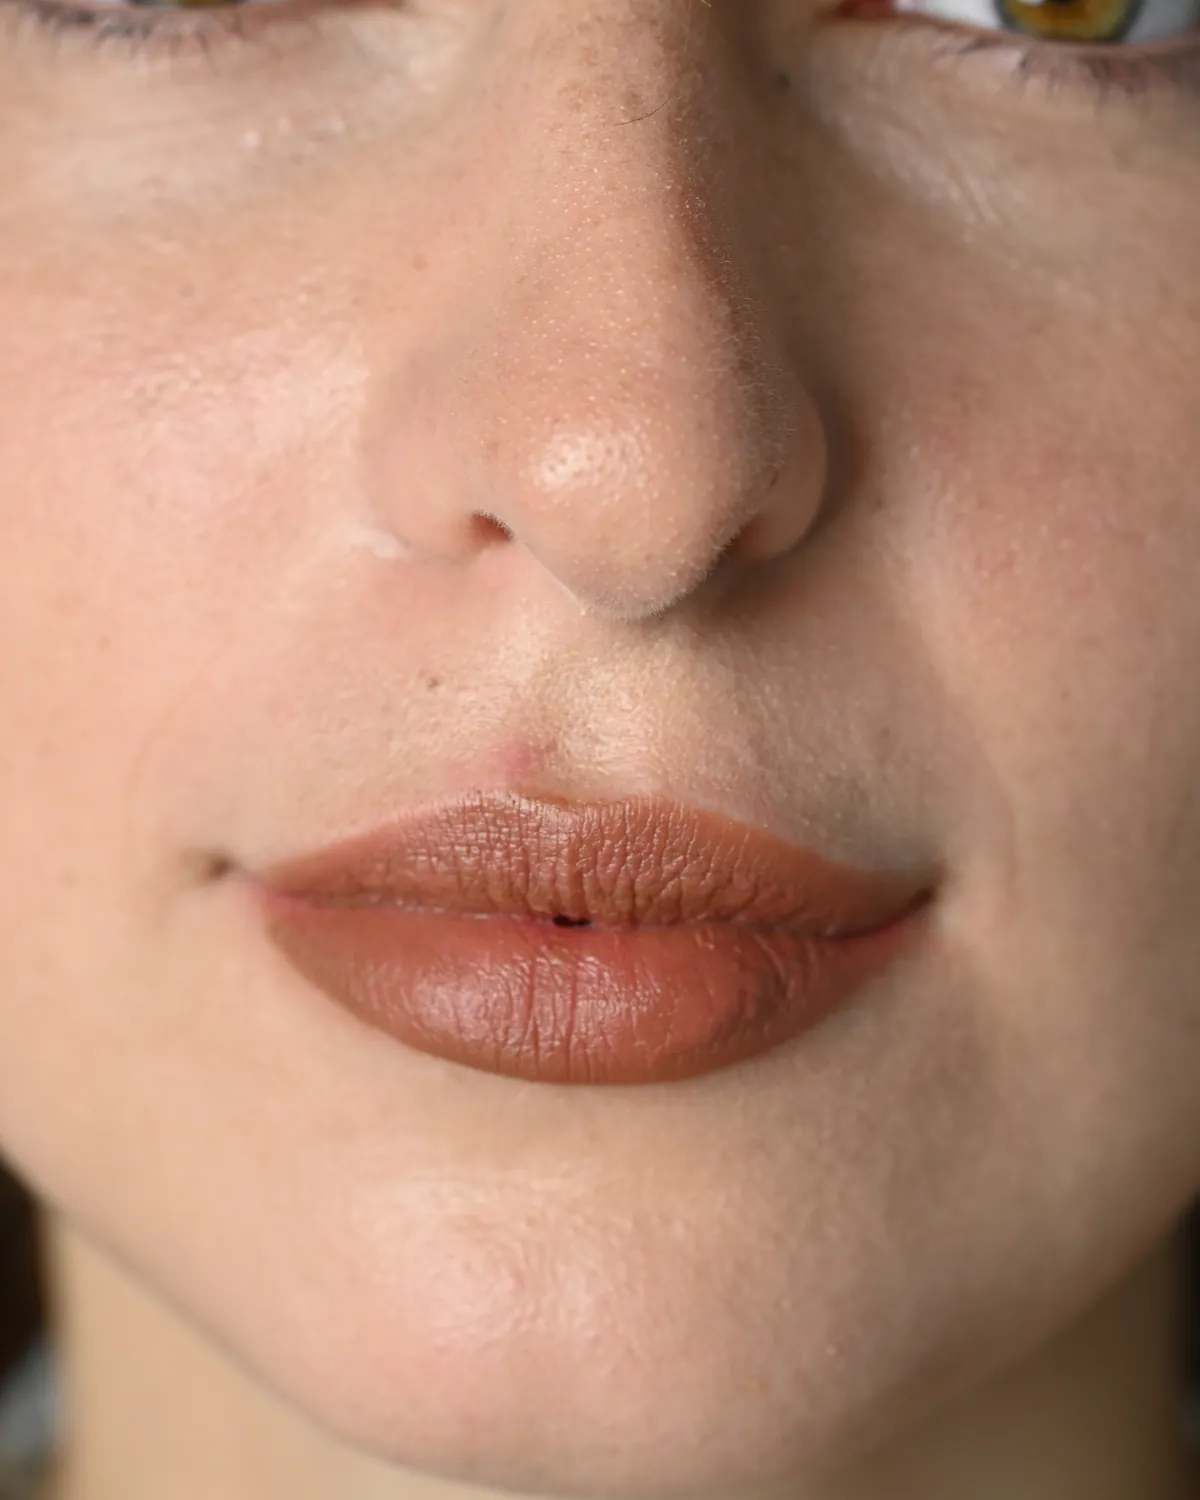
If your lip line has become less defined, a creamy liner close to your natural lip colour is the most useful: it sharpens the shape without showing as a separate line. You can still wear dark or bright shades – just draw the line precisely along your natural edge and blend it well towards the centre, so a sharp edge does not draw attention to fine lines around the mouth.
The LUMIMI lip liner comes in four shades. The table describes them in words; compare the shade photos on the product page before choosing, as colours can vary on screen.
| Shade | Tone | When to choose it |
|---|---|---|
| #1 Dusty Rose | Muted pink | For every day, if you like pinks but not bright ones |
| #2 Soft Blush | Light pink | For a fresh, natural result under a clear or pink gloss |
| #3 Spiced Cinnamon | Warm brown | For warmer undertones, with brown and terracotta lipsticks |
| #4 Toasted Almond | Brownish nude | For a natural outline, with nude lipsticks or gloss |
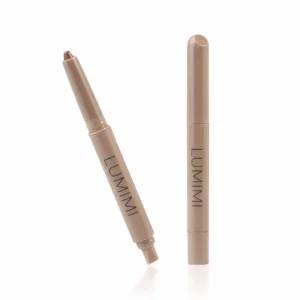
LUMIMI
Lip liner
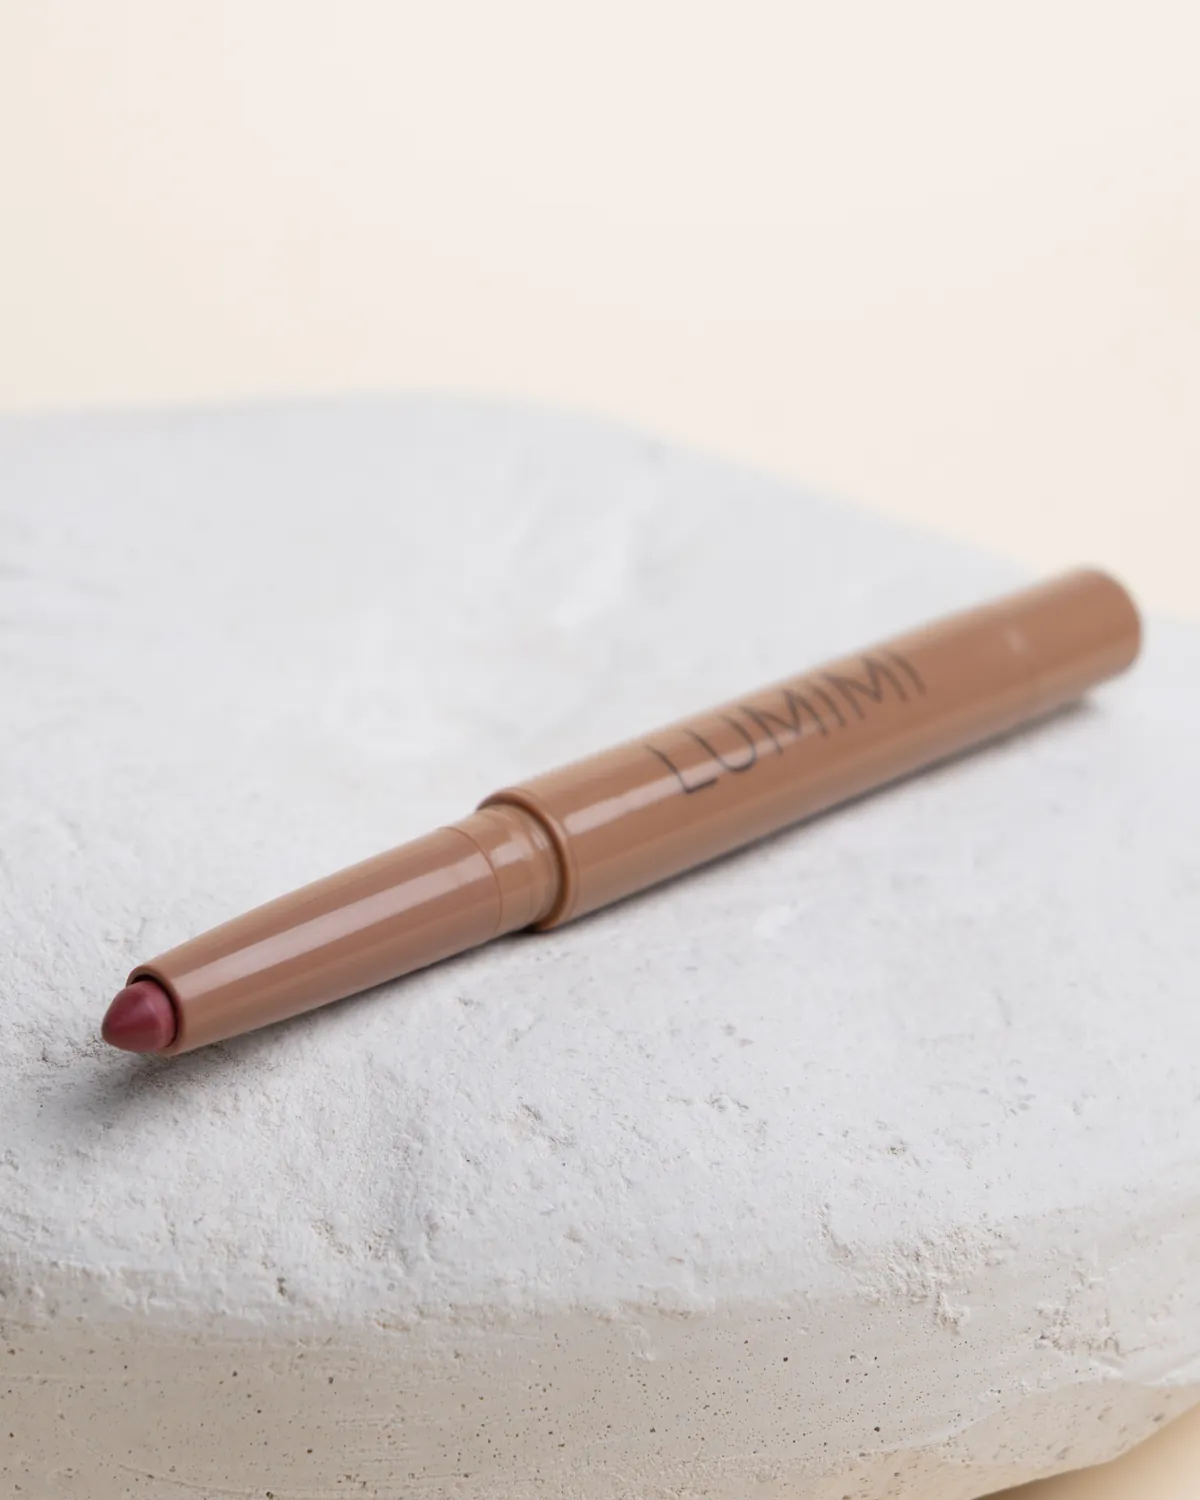
Twist-up and dual-ended: a creamy pencil for the outline or the whole lip, with a brush at the other end to blend the colour. 4 shades.
See the four lip liner shadesThe secret to an even line is not a steady hand but anchor points and short strokes. Rest your elbow on a table, relax and open your mouth slightly – this stretches the lip line so the pencil glides more easily. Here is how to use lip liner from start to finish.
If the line goes off course, do not wipe off your whole mouth. Dampen a cotton bud with makeup remover and clean just the stray bit, then tidy the edge with a dot of concealer.
To help colour last longer, use lip liner not only for the outline but as a light base across your lips. When people look for a long-lasting lip liner, they often forget that technique – layering and blotting – matters just as much as the formula.
When the top layer of lipstick wears off – on the rim of a coffee cup, for example – the liner underneath usually stays on longer. So your lips do not end up looking bare with a lonely outline around them.
No lip product looks freshly applied after lunch. After eating, simply refresh the centre of your lips: a little liner, blend, and a thin layer of lipstick or gloss.
Yes, you can use lip liner instead of lipstick. Fill in your whole lips, blend with the brush and, if your lips feel dry, add a thin layer of clear gloss or balm on top. It is handy when travelling or at work: one product gives you both the outline and the colour.
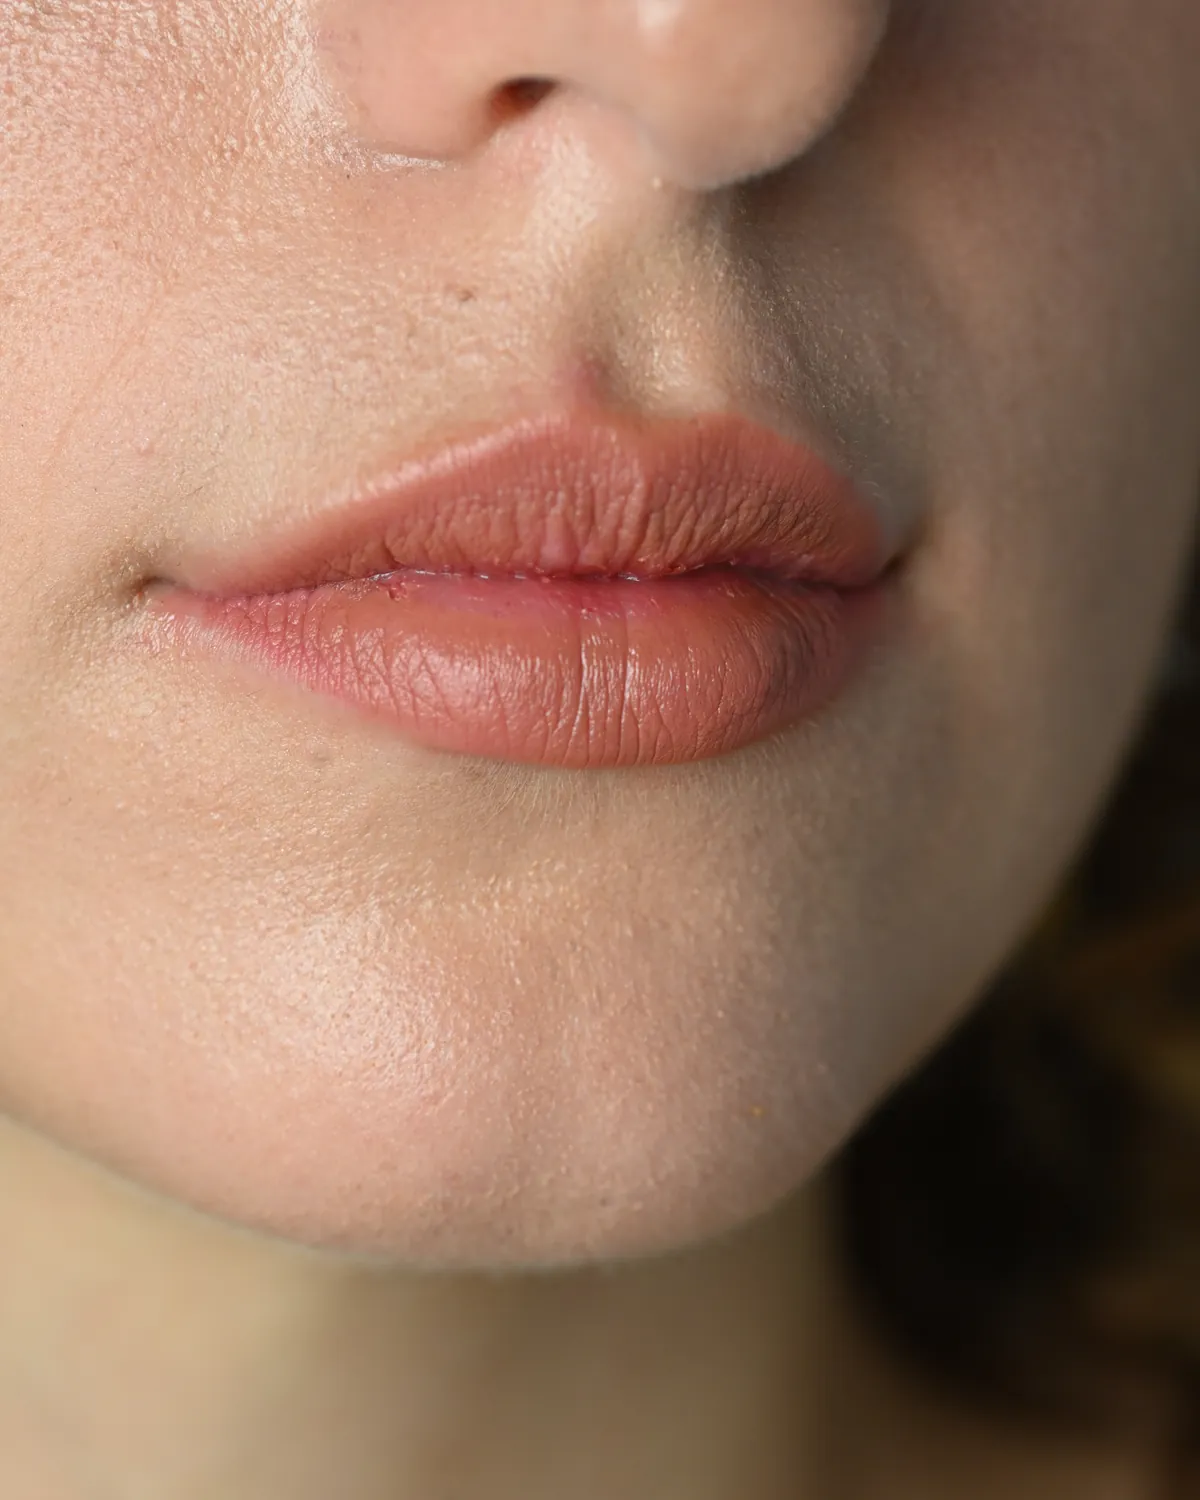
Lip liner will not make your lips bigger, but it can help them look a little fuller. It all comes down to restraint and where you draw the line.
If your lips are asymmetrical, line the narrower side just over the edge and the wider side exactly on it. The difference will look smaller and the makeup will still look natural.
Lip liner and gloss is one of the easiest everyday combinations: the liner gives shape and colour, the gloss adds shine. Line your lips, blend the line inwards, lightly fill in your lips with the pencil and only then apply gloss. A clear or sheer gloss lets the liner shade show through, while a tinted one softens it.
With creamy lipstick, the liner acts as both a frame and a base. Apply lipstick from the centre of your lips out towards the corners and leave the very edge to the liner – that way the colour will not cross the outline. To find out how these textures differ and when to choose which, read our article “Lip gloss vs lipstick”.
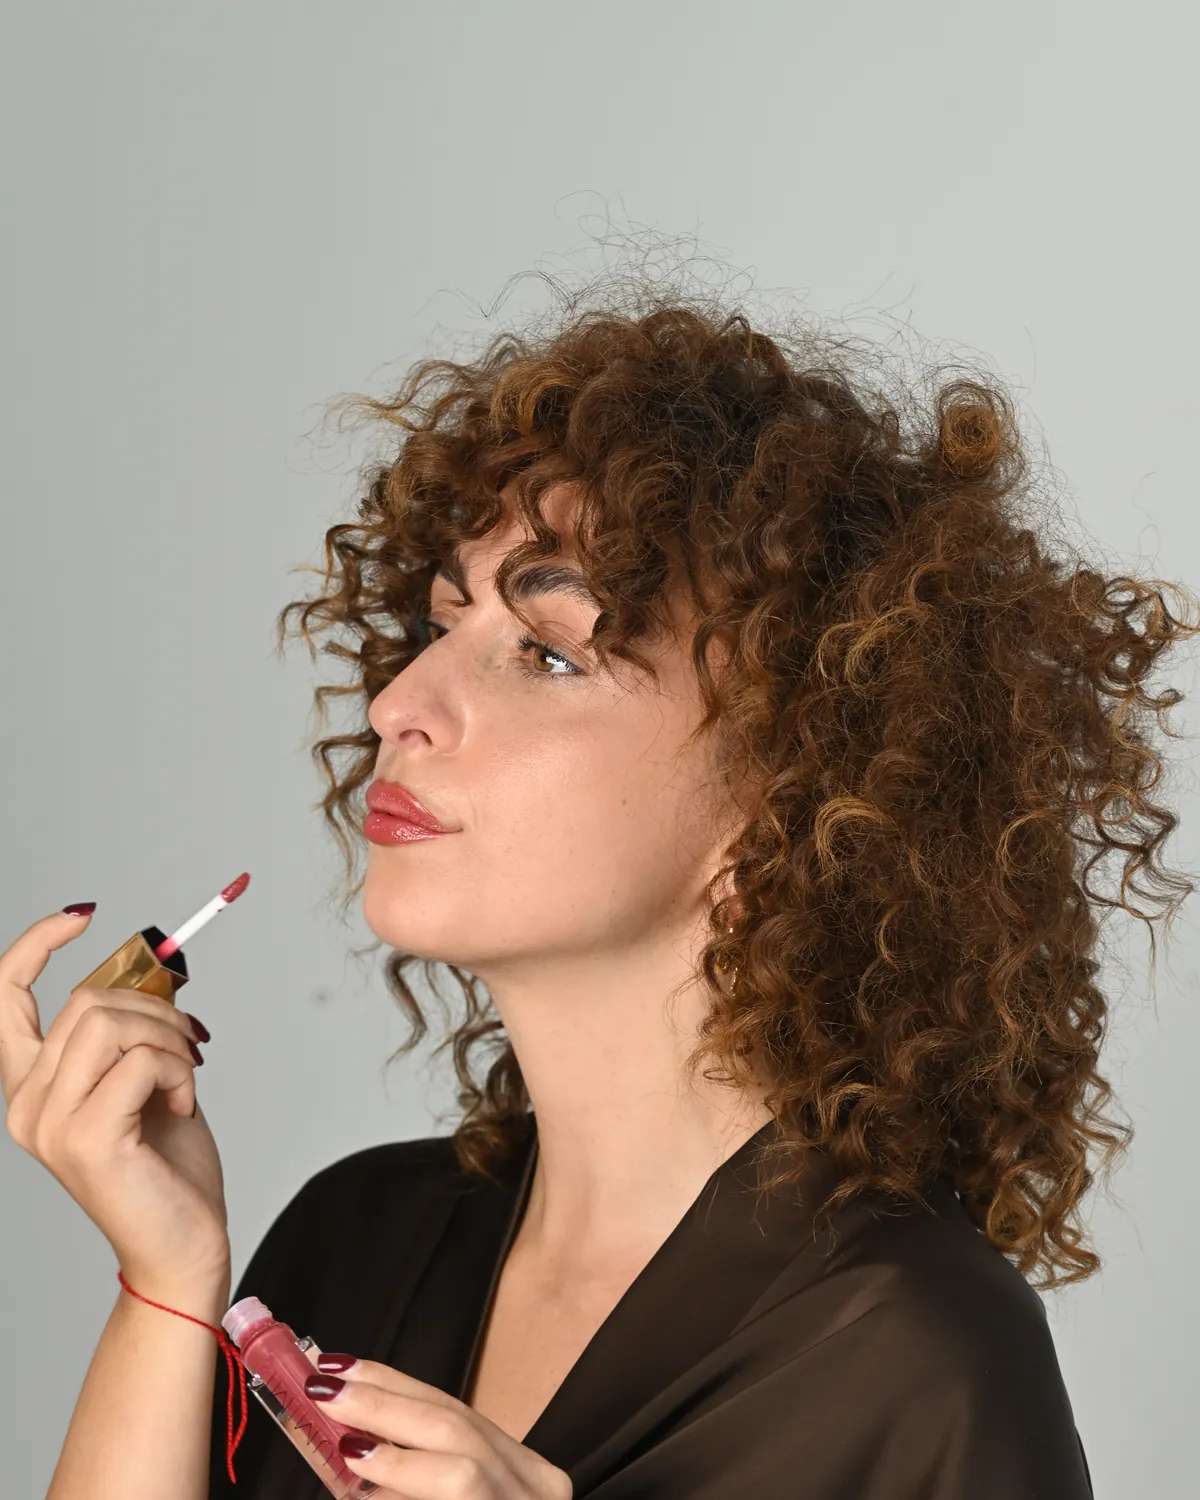
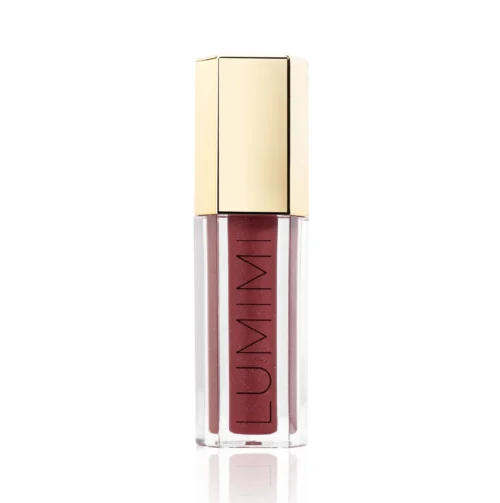
LUMIMI
Lip gloss
A non-sticky formula with coconut and jojoba oils and shea butter. Wear it on its own or over lip liner.
See the lip gloss shadesWipe off visible colour after use and clean the brush at the end of the pencil regularly, letting it dry fully, so residue does not build up. For how to look after your other tools, see our article on makeup brushes.
Not necessarily. A liner in the same tone or one shade deeper works well. If in doubt, choose one close to your own lip colour – it will go with most natural lipsticks and glosses.
Usually for one of two reasons: the liner is too dark compared with your lips or lipstick, or the edge has not been blended. Try a shade closer to your natural lip colour or sweep the line inwards with the brush. Lightly filling in your lips with the same pencil also helps – then there is no sharp border between the outline and the centre.
Yes. Fill in your whole lips with the pencil and blend with the brush. If you want more comfort or shine, add a thin layer of gloss on top.
Rest your elbow on a table and mark the anchor points first: two short strokes at the Cupid’s bow and a short line in the centre of the lower lip. Then join them with short strokes. Blending with the brush will hide small irregularities.
The easiest place to start is a creamy liner close to your natural lip colour. Deeper or brighter shades work too – just draw the line exactly on the edge and blend it well inwards, so a hard edge does not highlight fine lines.
It depends on the pencil. The LUMIMI Lip liner twists up, so there is no need to sharpen it: twist up 1–2 mm, line your lips and blend with the brush at the other end.
Better not straight away. Apply balm first, wait a few minutes and blot off the excess. If your lips are cracked, sores at the corners of your mouth will not clear up or you notice a rash, see a doctor first.