

Free Shipping
40 €
Lip gloss
60 €
Mascara
75 €
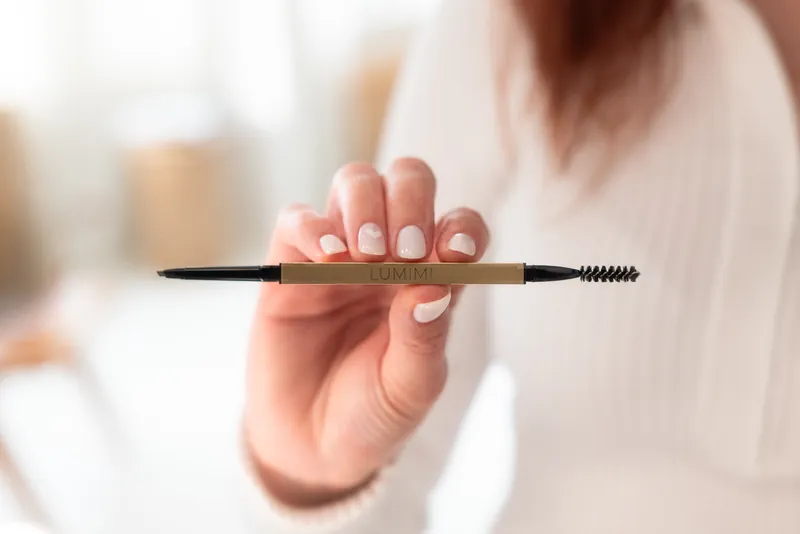
A fine-tipped eyebrow pencil lets you fill small gaps without drawing a solid outline – but used heavily, it can make brows look “drawn on”. The difference is not down to the pencil itself but to three things: shape, colour and stroke technique. Here you will find out how to get all three right and fill in natural-looking brows in 2–5 minutes.
You can use the pencil itself like a ruler to find three guide points: where your brow starts, where it arches and where it ends. Just do not try to draw a completely new shape with them – brows look most natural when you enhance the line of the hairs you already have. Before you start, mark the points very lightly, so you do not have to guess where to stop or how high to take the arch.
Check one more thing: the tip of the tail looks best at the same height as the start of the brow or slightly higher. If it drops lower, your eyes can look tired or sad.
Work on both brows alternately: a few strokes on the left, a few on the right. This makes symmetry much easier than finishing one brow and then trying to “copy” it on the other side. Your brows will never be perfectly identical anyway – and they do not need to be.
Choose your eyebrow pencil colour based on your brow hairs and your overall hair colour. If you colour your hair, the roots alone can be a poor guide – compare how the shade looks next to your face and with the hair colour you wear now.
Pay attention to undertone as well. If your hair has golden or reddish tones, a warmer brown will suit you better; if it is ashy or greyish, choose a cooler one.
The LUMIMI Eyebrow pencil comes in 4 shades. Use the table as a guide to which one might suit you:
| Shade | Tone | Who it may suit |
|---|---|---|
| Mocha Brown | The lightest of the four, a soft brown | Blondes, dark blonde and light brown hair, greying brows when you want soft contrast |
| Coffee Brown | A warm, deeper brown | Brown, chestnut and warm-toned hair |
| Dark Brown | A dark, cooler brown | Dark and black hair for every day, when black looks too harsh |
| Midnight Black | Black | Very dark or black hair and brows, or a bolder evening look |
If you are choosing between two shades, compare both against your brow hairs in daylight. A softer shade is often easier to build up with a second layer, while brows that come out too dark are harder to tone down. Colours can look different on screen, so try a new shade in daylight the first time.
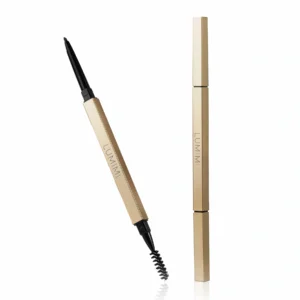
LUMIMI
Eyebrow pencil
A twist-up pencil with an ultra-fine tip for hair-like strokes and a built-in spoolie at the other end. 4 shades: Midnight Black, Mocha Brown, Coffee Brown and Dark Brown.
Discover the twist-up eyebrow pencilFill in your eyebrows with short, light strokes: start along the lower edge and finish by blending the colour with the spoolie. Once you have the hang of it, the whole thing takes 2–5 minutes. Do not rush the first few times – two thin layers are better than one heavy one.
If you wear foundation, do your brows after it. Before you start, brush any foundation or powder residue out of the hairs with the spoolie – the pencil will glide more evenly.
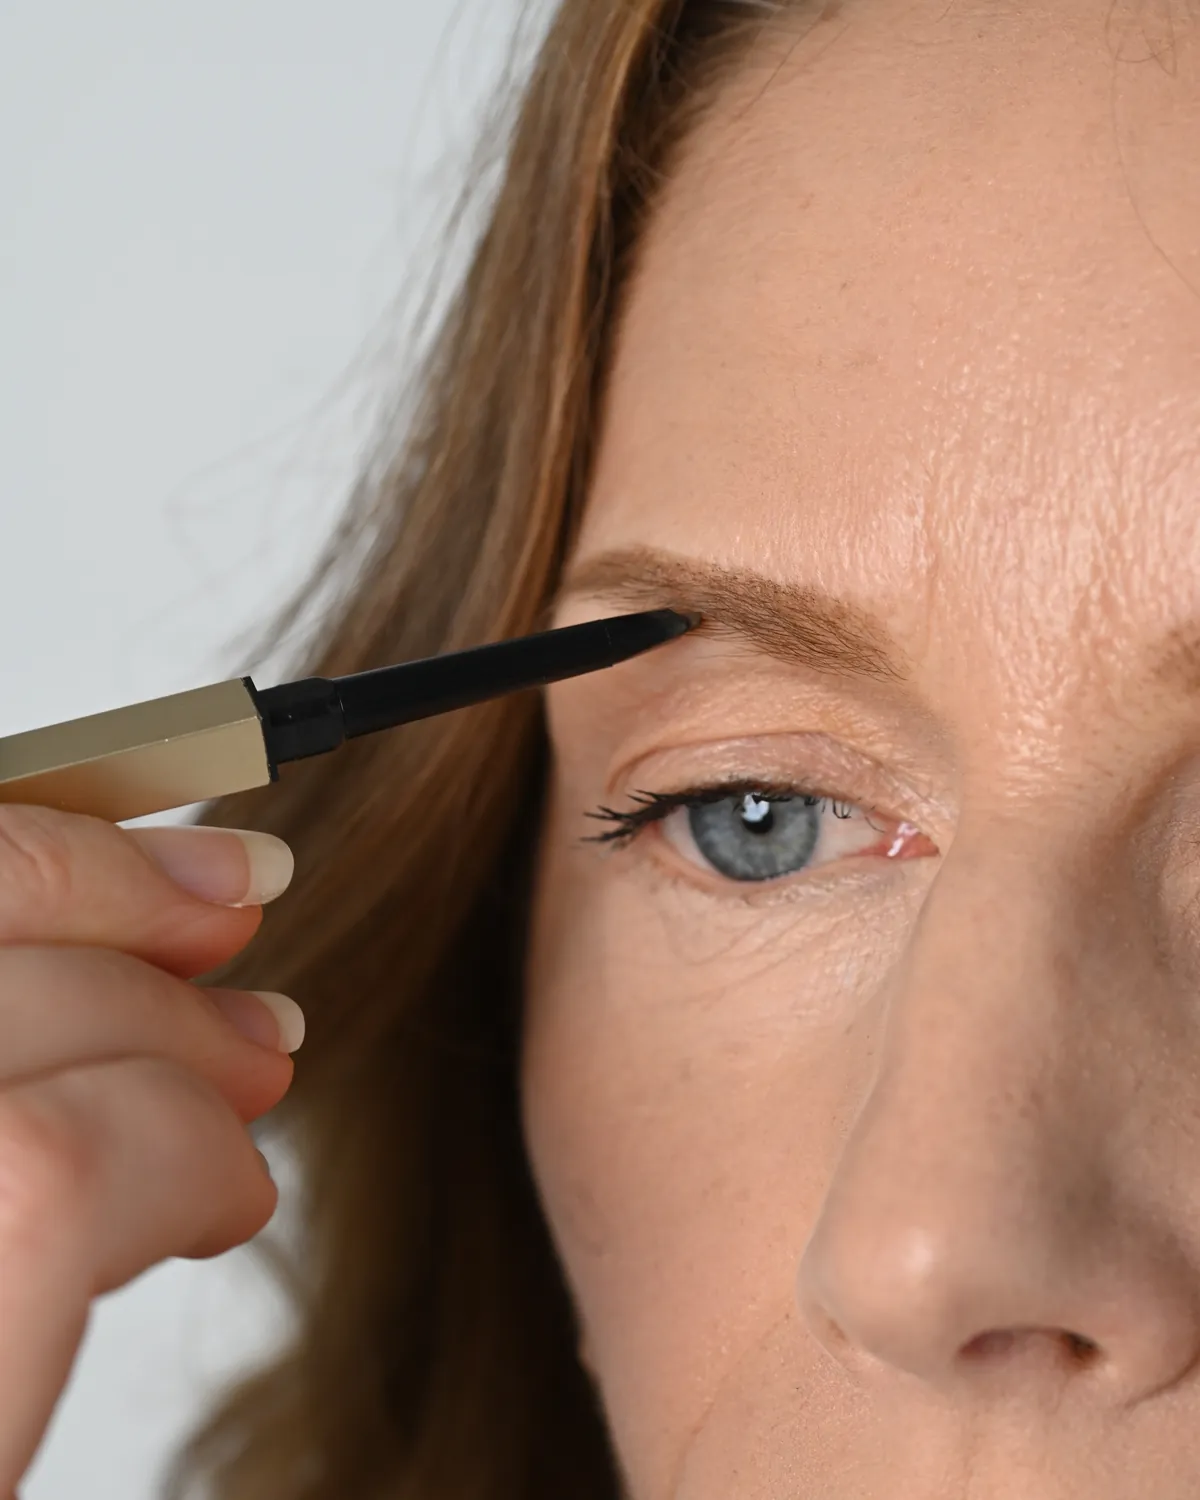
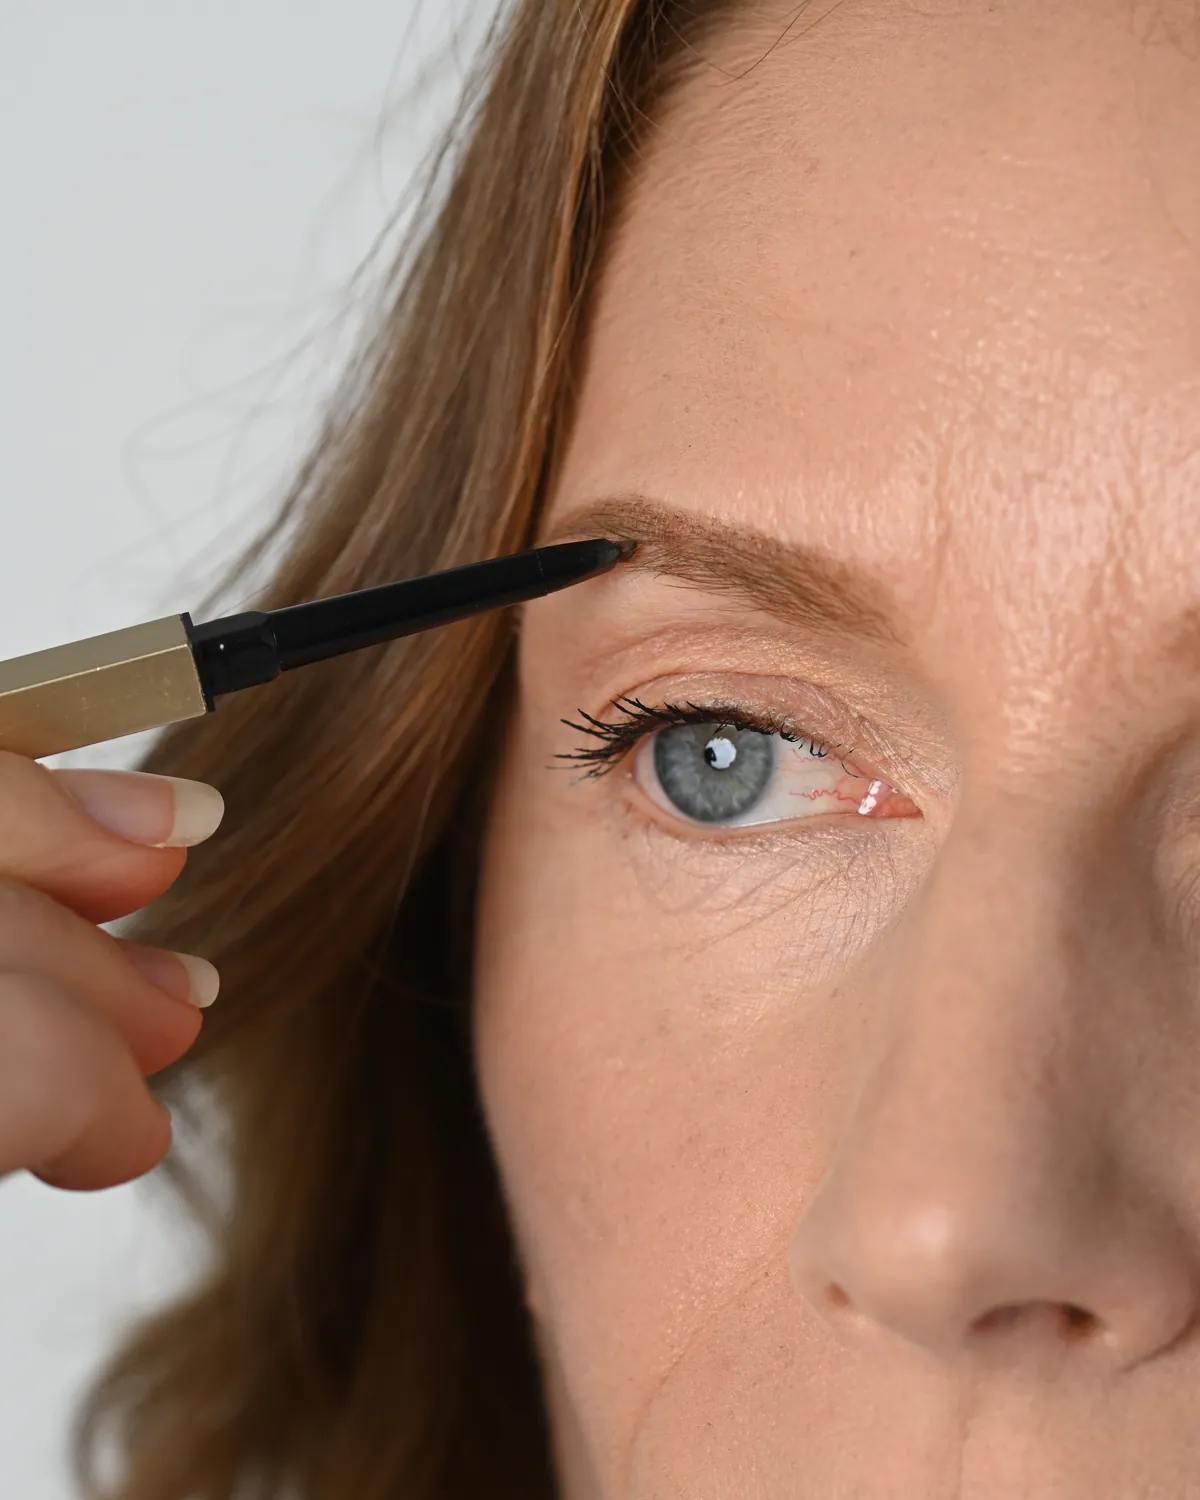
Each stroke should be fine, roughly the length of a real hair, and get lighter towards the end: start with a little more pressure and ease off at the finish. In the tail, draw the strokes almost horizontally, towards the temple. Leave tiny gaps between them, and when you are done, look in the mirror at arm’s length – if you cannot see individual strokes, you have nailed it.
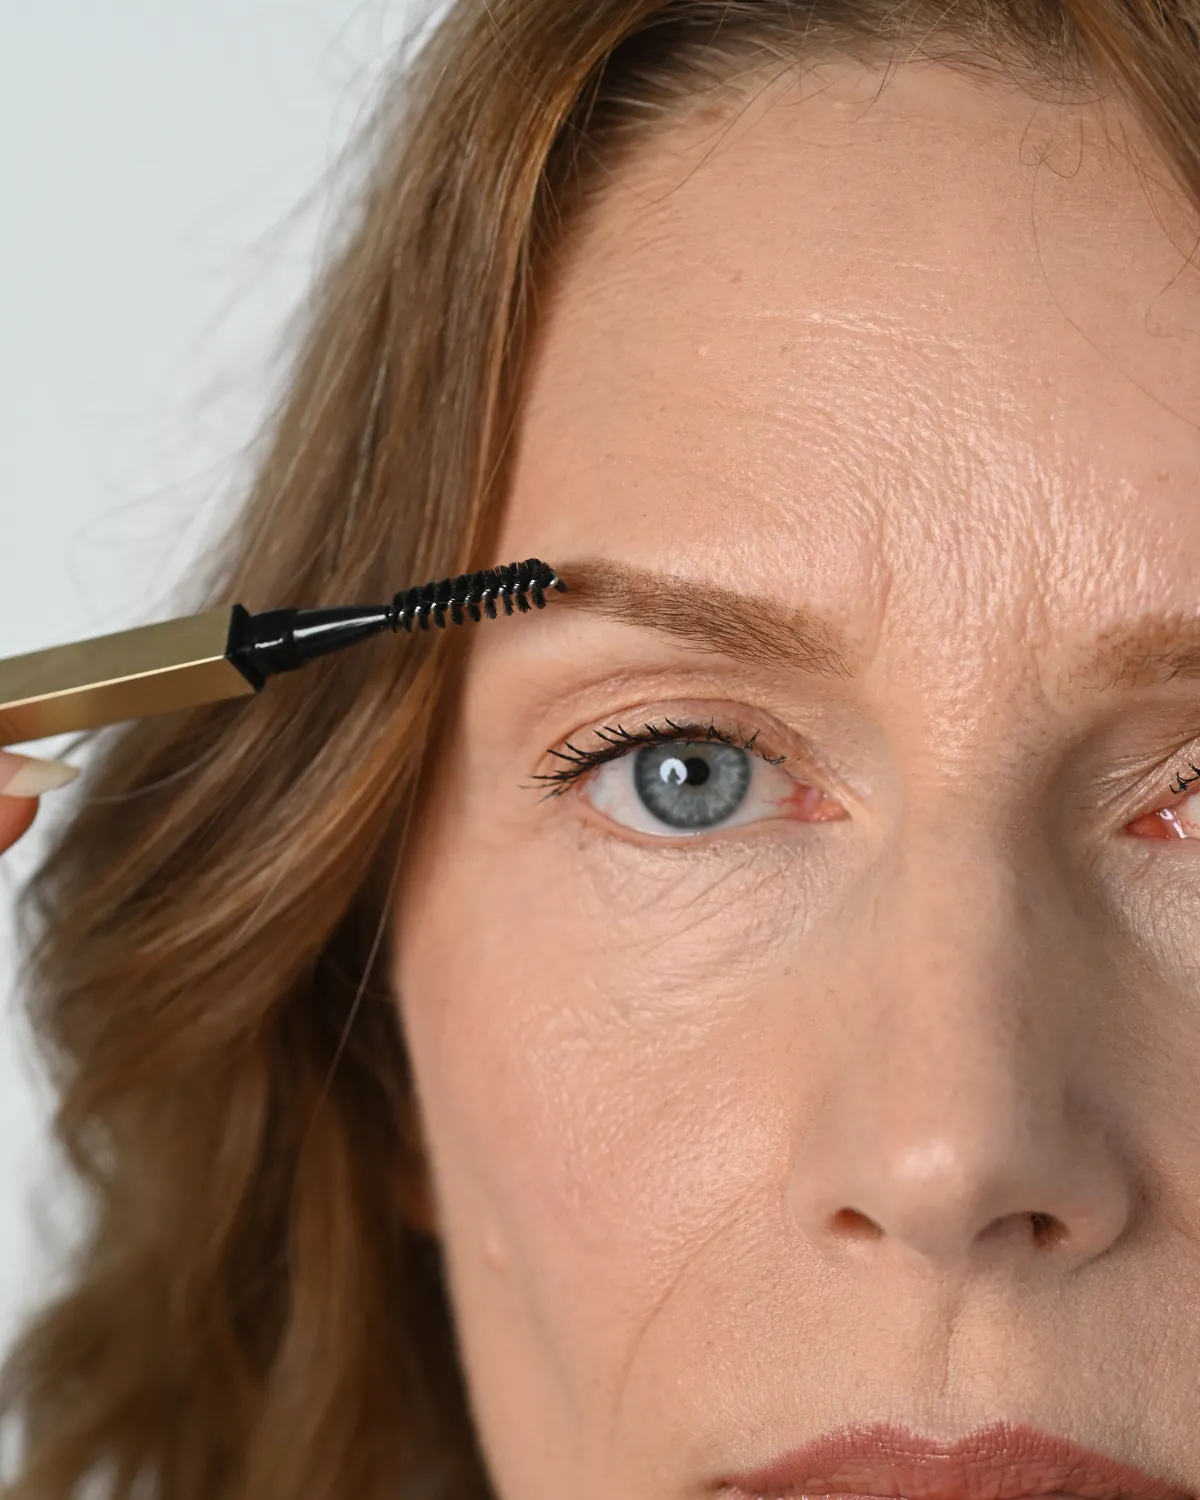
For hair-like strokes, the easiest pencil to work with has a very fine tip and a creamy texture that glides without much pressure. Twist up just a short length of the tip and hold the pencil a little further back – that way you will press more lightly. After a few strokes, check they are not coming out too thick.
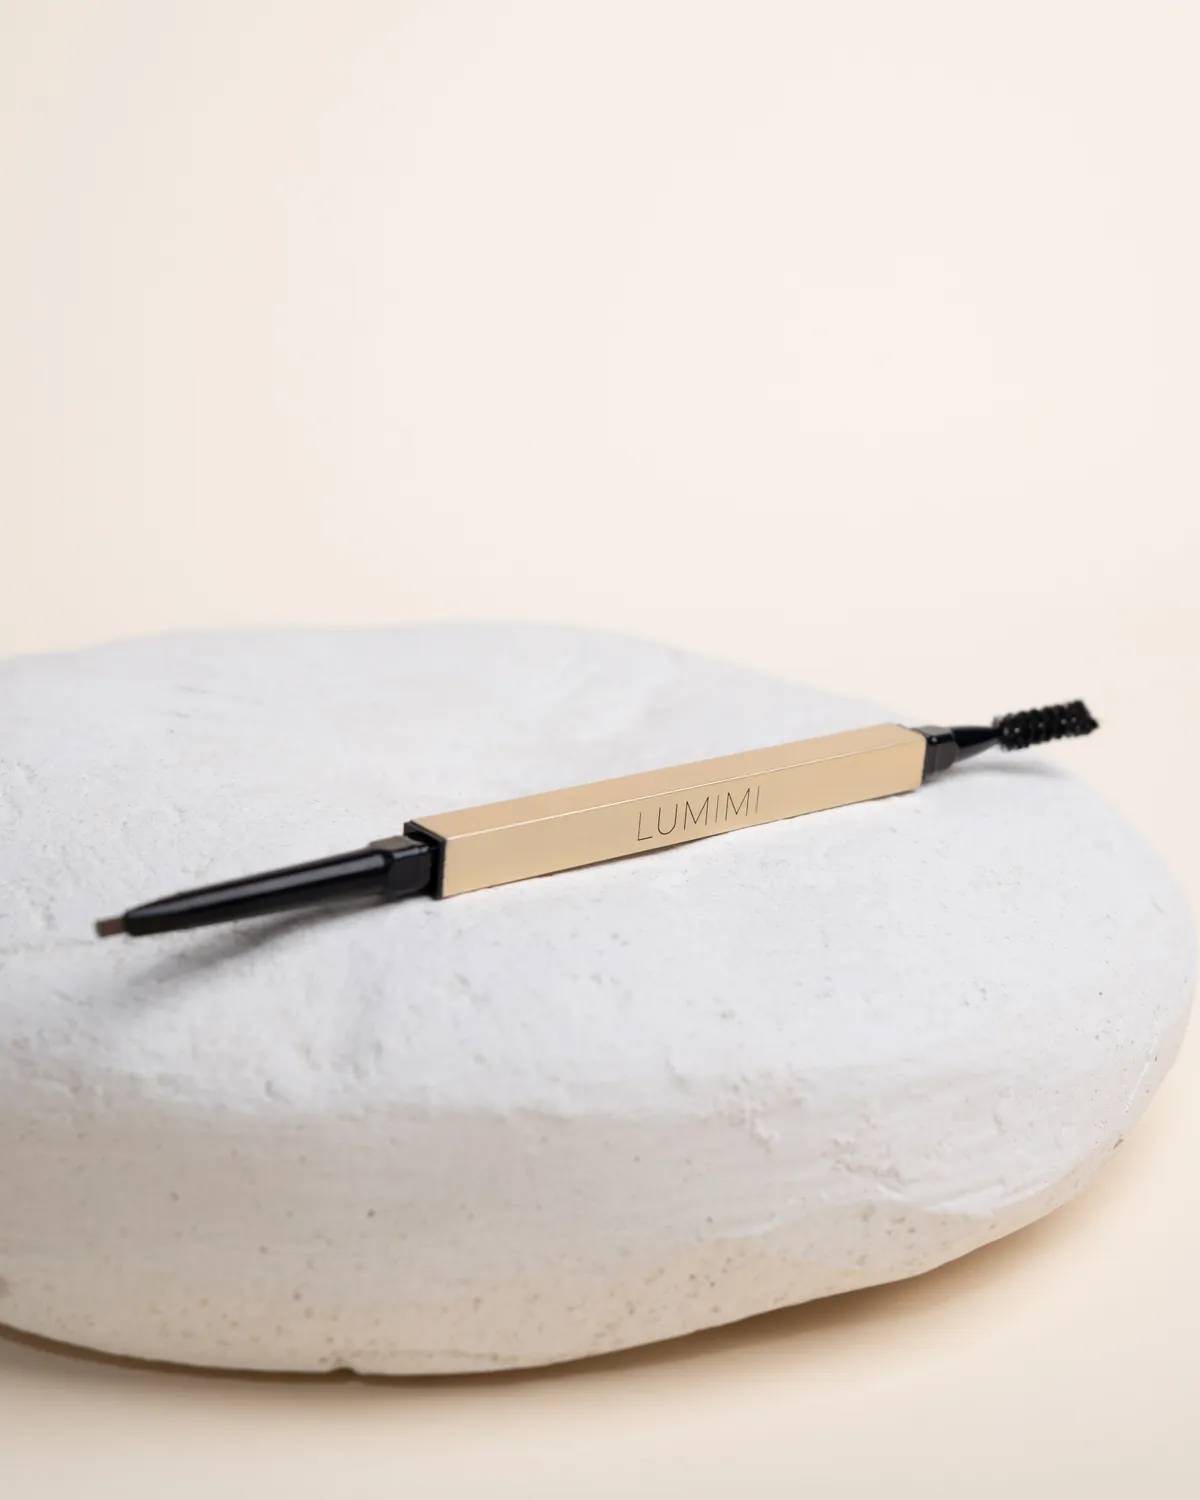
The LUMIMI Eyebrow pencil twists up, so it never needs sharpening. Its ultra-fine tip makes short strokes easy, the creamy formula glides with a light touch, and the spoolie at the other end blends the colour – everything you need for your brows in one pencil. If you would still like a separate brush, we cover the different types in our article on makeup brushes.
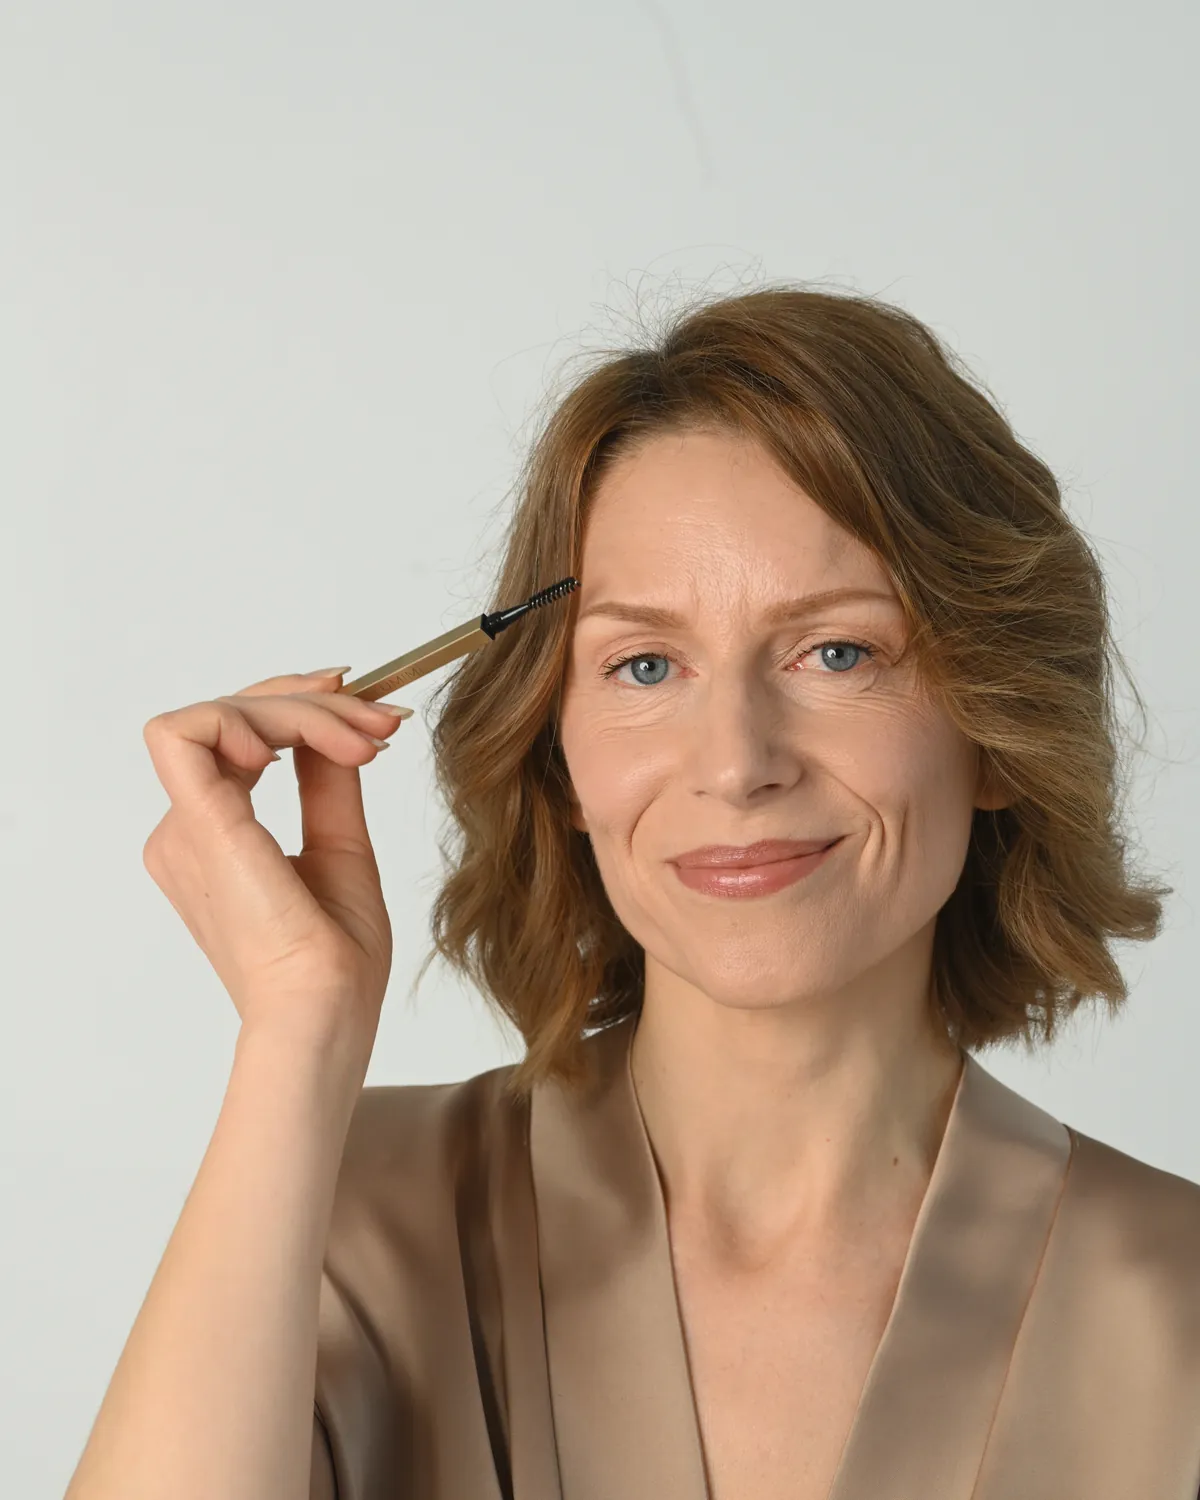
When filling in sparse brows, start where there are still some hairs, and only then add a few soft strokes of varying length into the bare patches. Match the intensity to your natural brows, not to your age: the more skin shows between the hairs, the more any overly strong stroke stands out.
Do not draw a solid outline: fill bare patches with a few hairs that cross each other slightly, the way real brows grow. If the tail is missing, finish it according to the third guide point, but do not extend it any further.
If your brows have suddenly started thinning noticeably, or the skin around them is red, itchy or flaky, it is worth seeing a doctor. Makeup helps to disguise it, but it does not address the cause.
When brows get lighter or greyer, or the tail starts to droop slightly, fewer lines are often enough: fill in the gaps and define the lower edge. Match the shade to the colour of your remaining hairs and the amount of contrast you want.
The most common mistake is a shade that is too dark, but it is not the only one. Here is what makes brows look “drawn on” and how to fix it:
Choose based on your brow hairs and overall hair colour. Blondes usually suit one or two shades darker, brunettes one shade lighter. If in doubt, compare two shades in daylight – a softer one is often easier to build up than a dark one is to tone down.
Use short, fine strokes in the direction the hairs grow, not a solid line. Keep the start softest and the strongest colour from the arch to the tail. When you are done, blend the colour with the spoolie.
Yes, if the pencil has a fine tip and you use a light touch. Each stroke should be short and taper towards the end. The impression of density comes from several overlapping hairs, not one thick stroke.
Once you have the hang of it, 2–5 minutes is enough for both brows. The first few times it may take twice as long, especially while you find your shape using the three guide points. After that your hand gets used to it and it all goes faster.
Not necessarily. A clear brow gel or brow soap comes in handy if your hairs are long, unruly or grow in different directions – it holds them in place. If your brows behave, the spoolie is enough.
First brush through a few times with a dry spoolie – it removes some of the colour. If that is not enough, dampen a cotton bud with makeup remover, carefully remove the excess and touch up with light strokes.
A twist-up pencil does not need sharpening – just twist up as much as you need. The LUMIMI Eyebrow pencil twists up and has an ultra-fine tip, which makes it easy to draw hair-like strokes.